Resume Approval Queue In The WP Job Portal!
Configure Resume Auto Approve

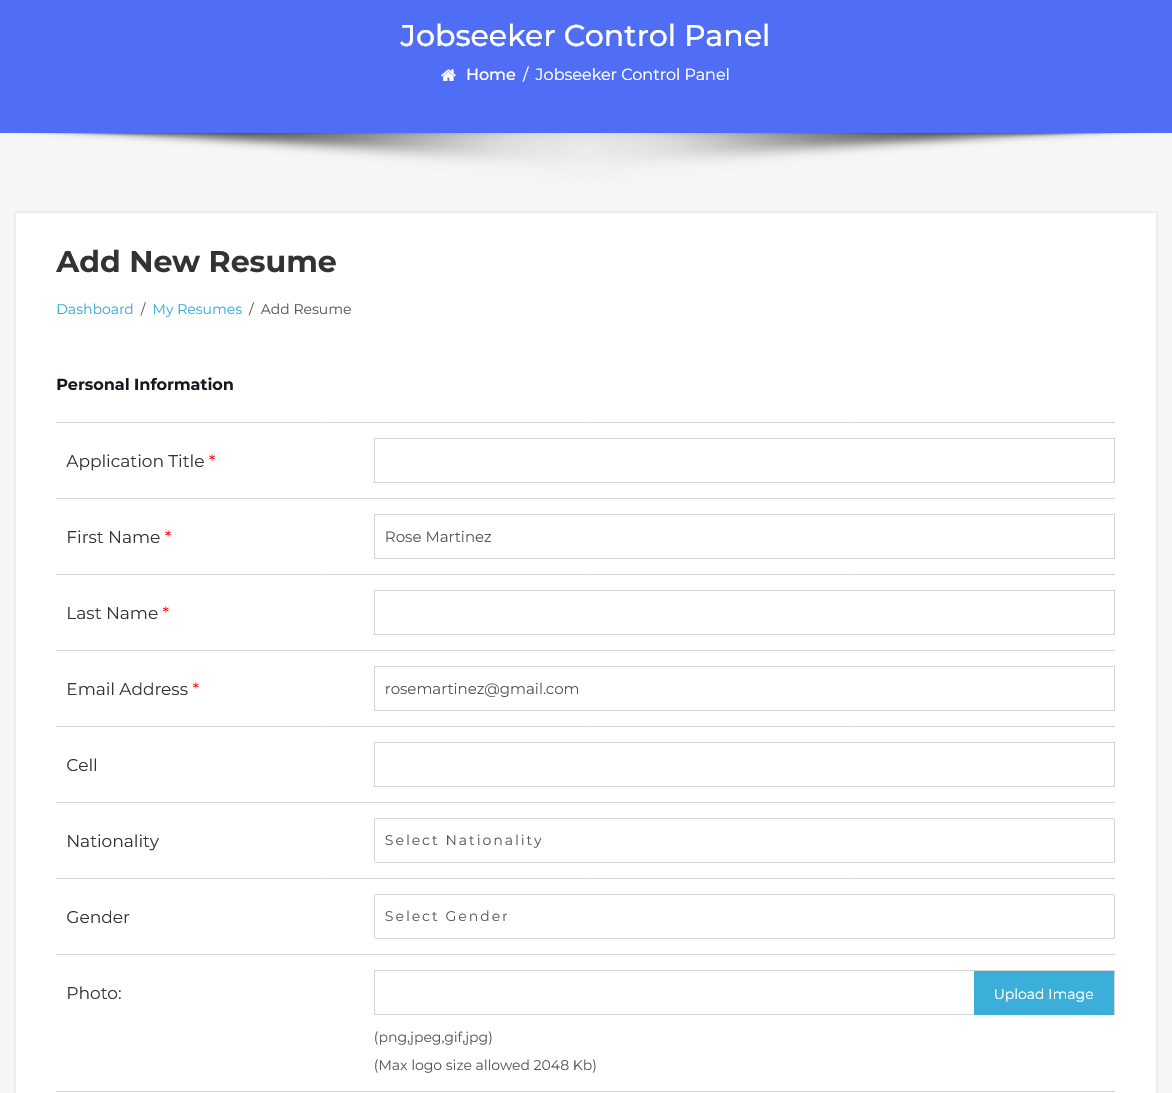
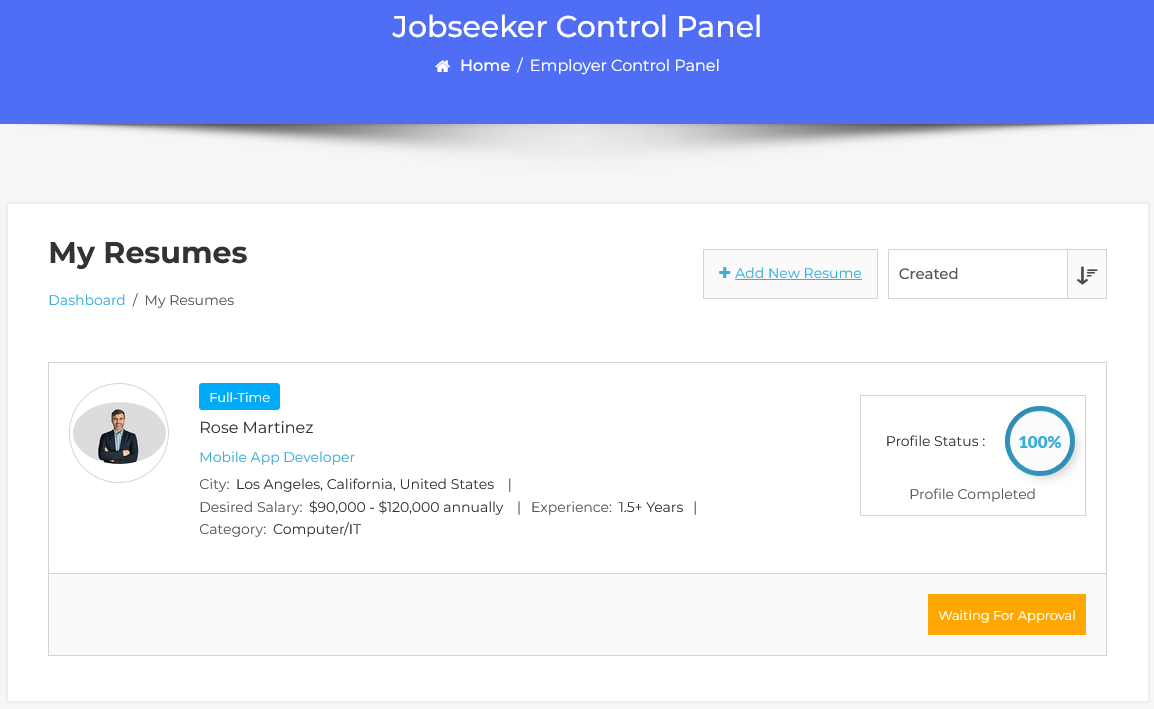
To create a resume, navigate to the “Add Resume” form. Fill in the necessary details. Once all details are complete, click the “Save Resume” button. The resume will be successfully saved.
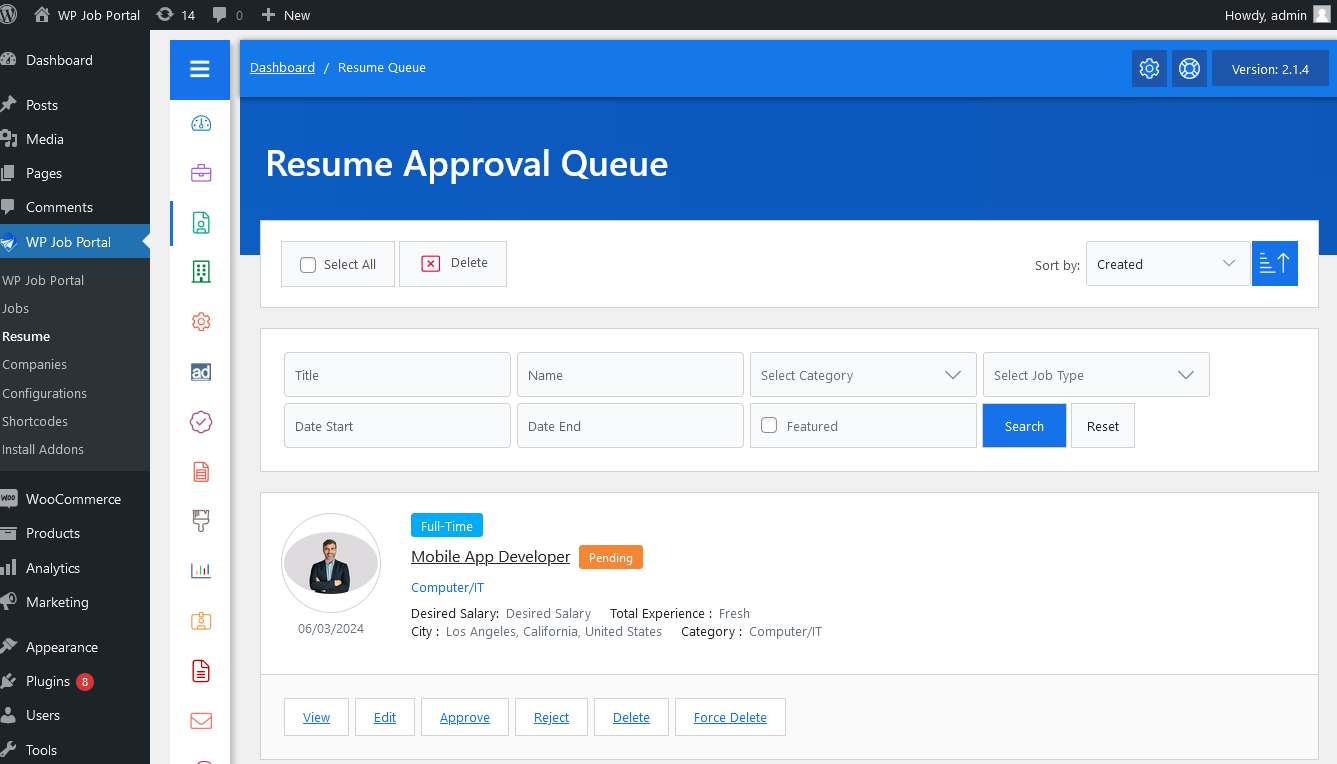
To manage resume approvals, navigate to the Admin Dashboard → Dashboard Menu → Resume → Approval Queue. This page lists resumes awaiting approval. The admin can search, sort, and take actions such as approving, rejecting, editing, or deleting resumes. Approving a resume updates its status to “Approved” and publishes it while rejecting it, marking the resume as “Rejected.”
Configure Featured Job Auto Approve

To configure featured resume approvals, navigate to the Admin Dashboard → Dashboard Menu → Configurations → Jobseeker Configurations → Auto Approve. If the featured resume auto-approve is set to “YES,” no administrator approval is needed for publishing. However, if set to “NO,” the featured resume will require admin approval before publication.
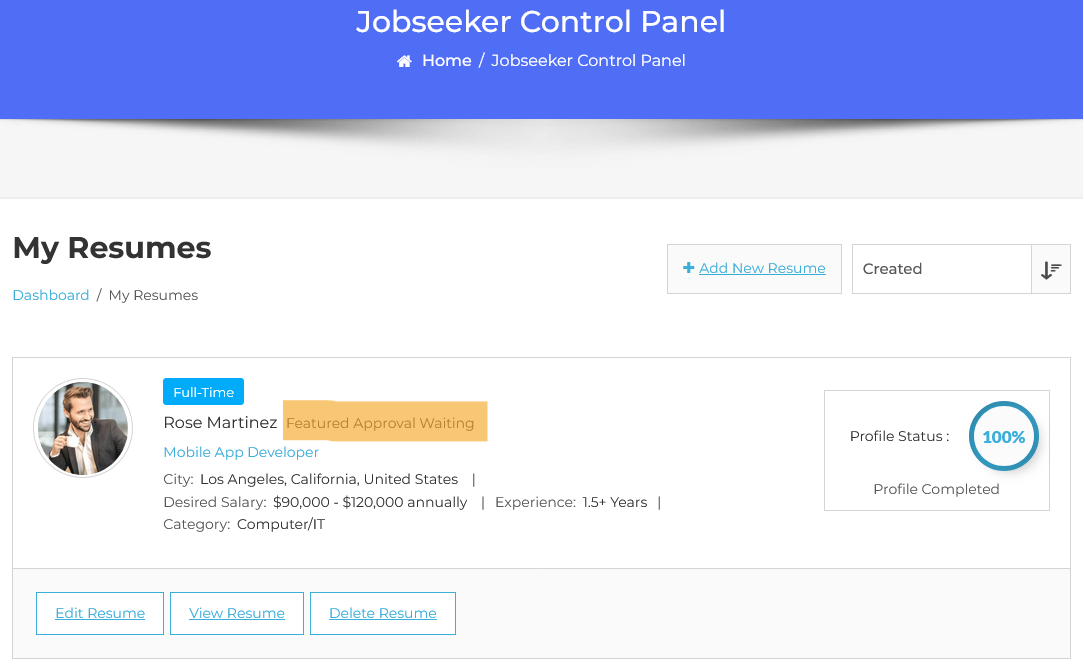
The list displays resumes, and the job seeker can feature a resume by clicking the featured button. While the resume status is “Approved,” its featured status is “Featured Approval Waiting.” This indicates that the resume is not marked as featured due to pending administrator approval. Administrator approval is required to mark the resume as featured.
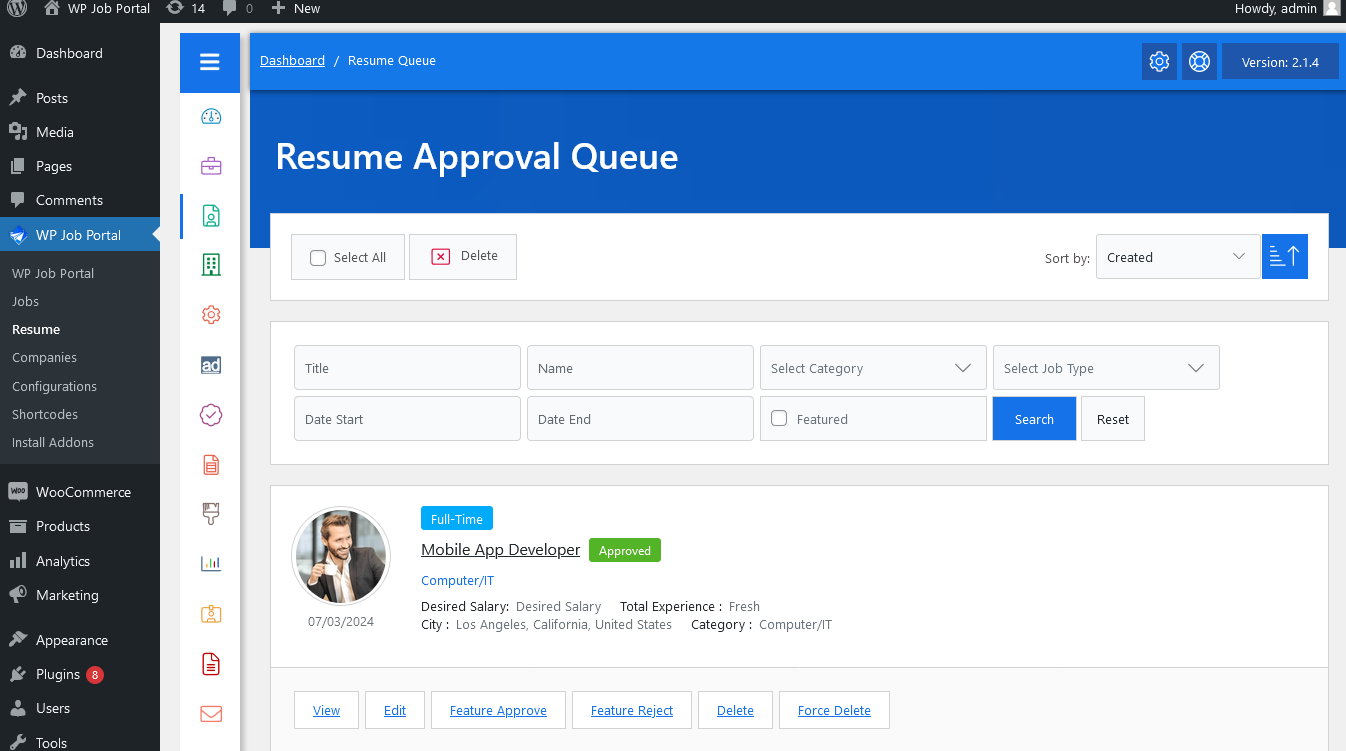
To manage featured resumes, start by navigating to the Admin Dashboard → Dashboard Menu → Resume → Approval Queue.
In the approval queue, you will see a list of resumes awaiting your approval. You can search and sort the list, as well as perform actions such as feature approval, feature rejection, editing, deleting, and enforcing delete. Each specific resume will display a pending featured status.
To approve a featured resume, click the feature approve button. This will change the featured resume status to approved and published. Conversely, if the admin clicks the feature reject button, the resume will be marked as rejected for the featured status.

