WP Job Portal Installation!
Installing and configuring WP Job Portal is the first step toward turning your WordPress website into a fully operational job board. The installation is designed to be simple, even for non-technical users, and can be completed in just a few steps. The installation process begins with adding the plugin to your WordPress dashboard, either by uploading the plugin files or installing it directly from the plugin directory. After downloading the WP Job Portal plugin, you can install it directly through the WordPress Plugin Manager by navigating to Plugins > Add New > Upload Plugin and selecting the ZIP file. Once you click Install Now and activate, the system automatically creates essential pages such as Jobs, Job Search, Employer Control Panel, and Jobseeker Control Panel. These pages serve as the backbone of your job portal, allowing users to navigate and interact with the platform smoothly.
Installation Process
Step 1:
Make sure you have installed WordPress.
Installing the WP Job Portal Plugin
Step 2:
- Log in to your WordPress Dashboard.
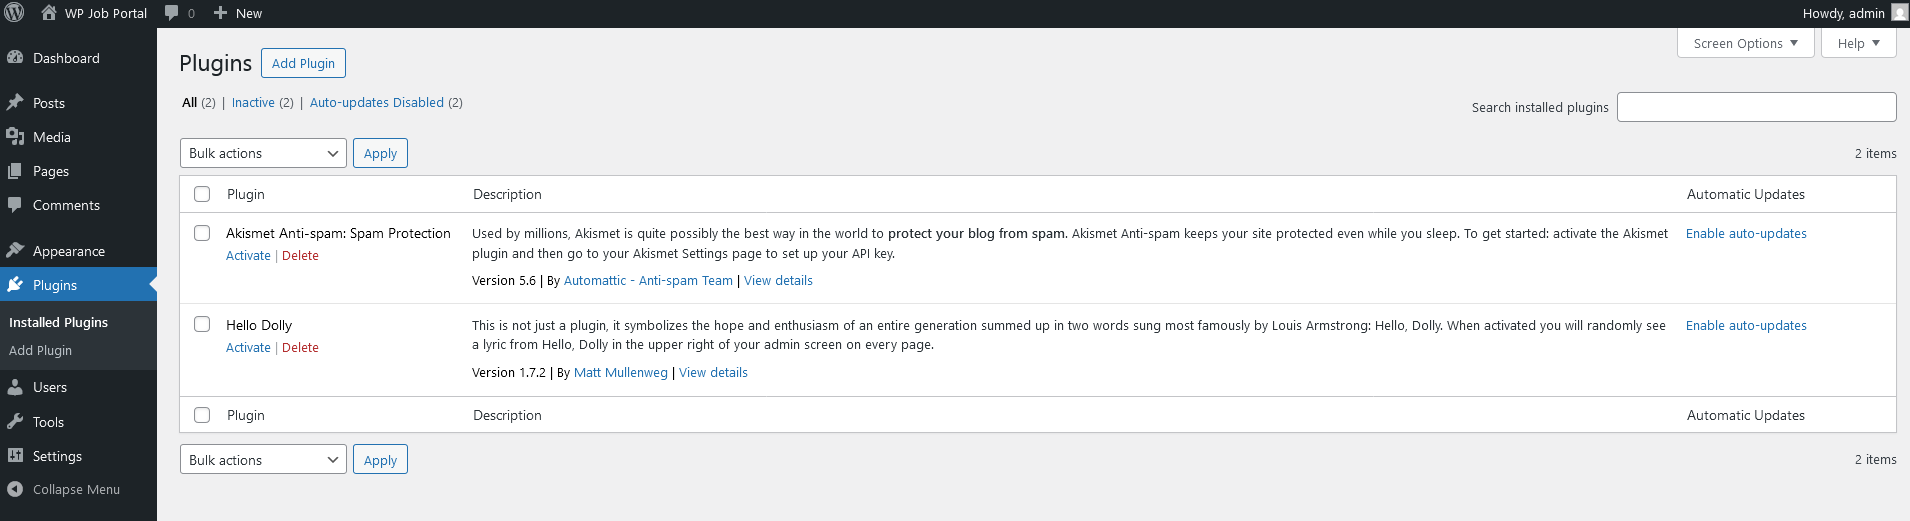
- Navigate to the Plugins option in your dashboard menu.
- Click on the Add Plugins button.
Step 3:
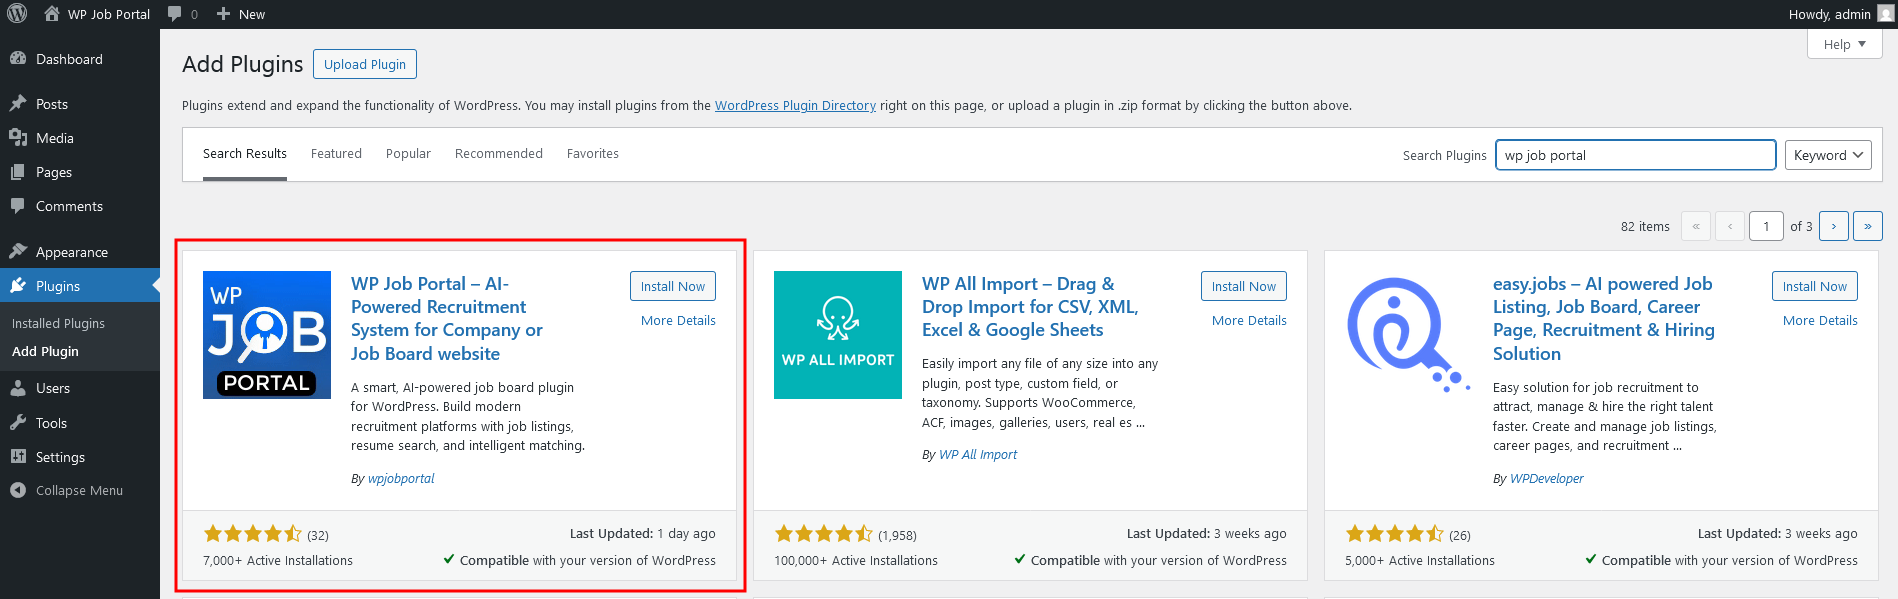
- In the search bar, type “WP Job Portal” and press Enter.
- Locate the plugin in the list and click the ‘Install Now’ button.
Step 4:
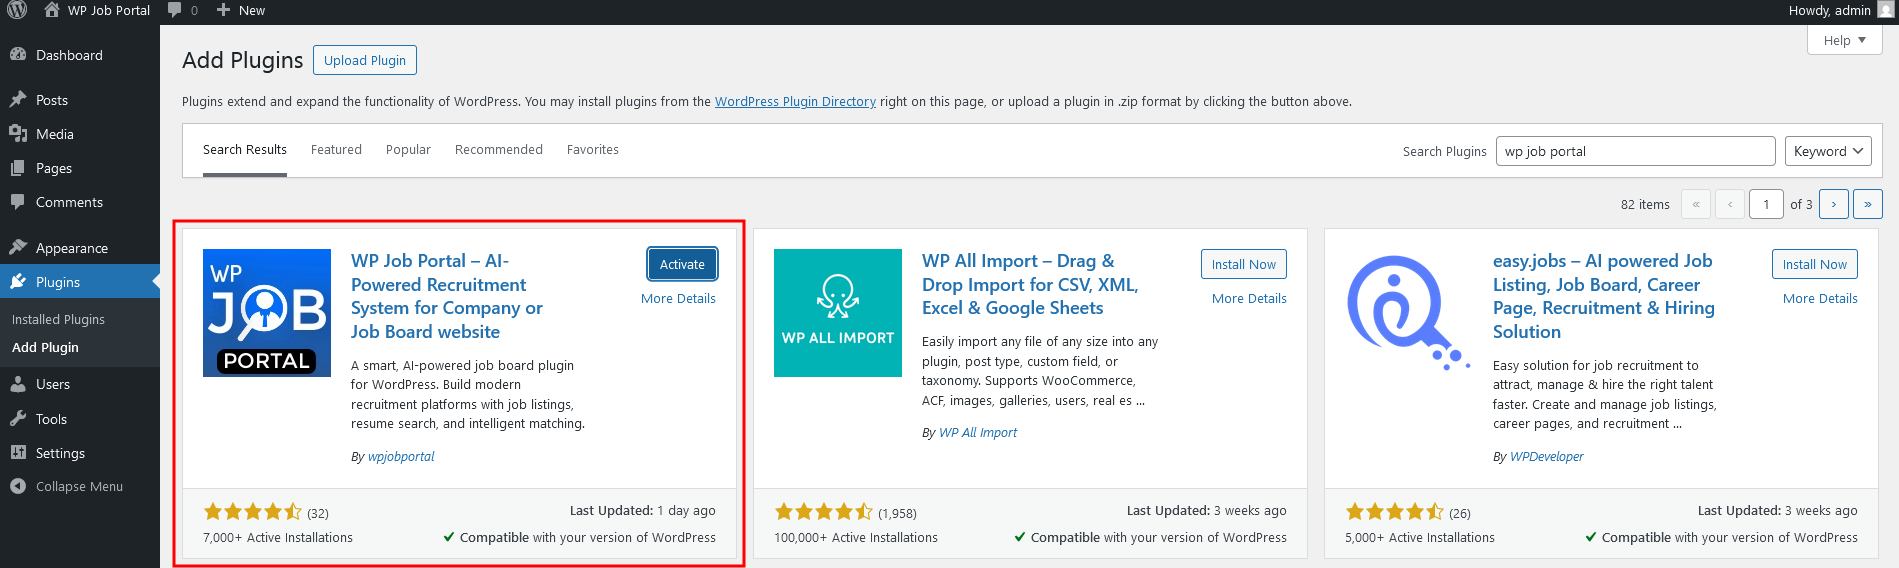
- Once the installation is complete, click on the Activate button to enable the plugin.
- Your WP Job Portal plugin is now successfully installed and activated!
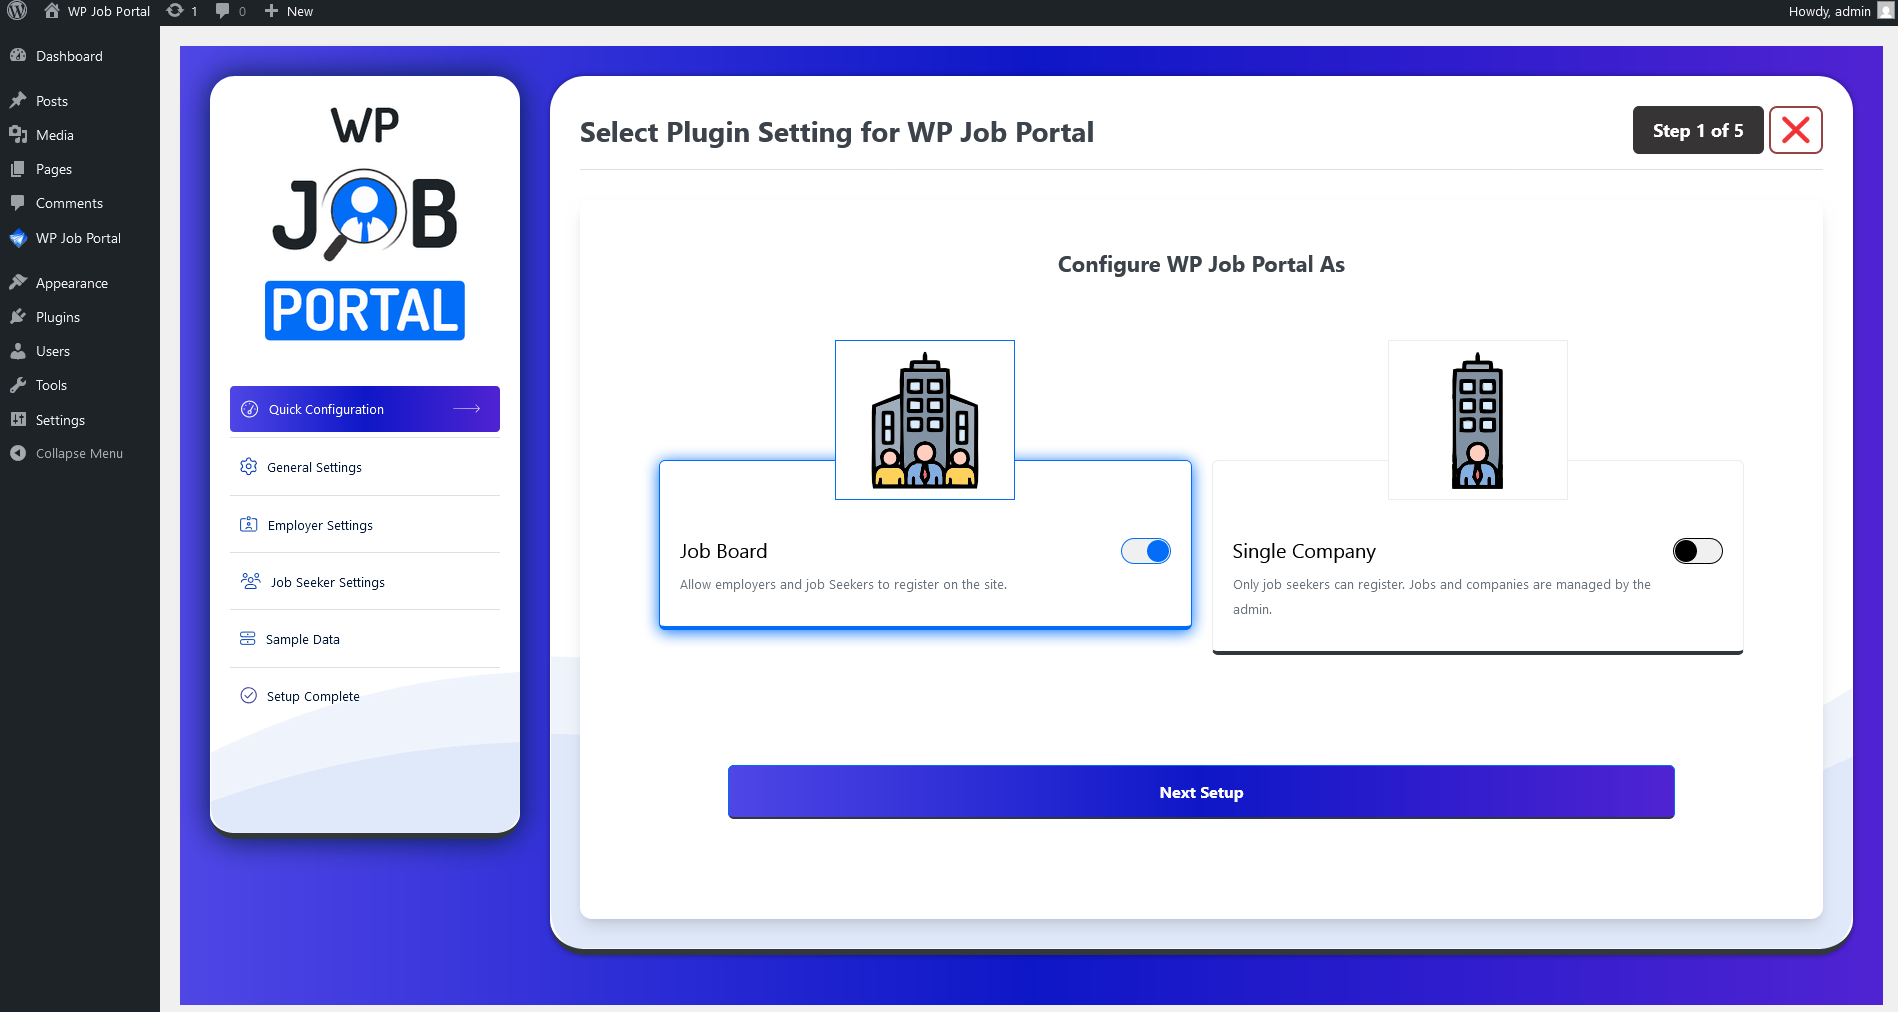
Once the plugin is active, it will prompt you for some initial setup configurations.
Quick Configuration
Step 5: