How To Set Up The WP Job Portal Theme
How do you install and set up the WP Job Portal theme on the WP Job Portal plugin? If you’re looking to create a powerful and professional job portal website using WordPress, you’re in the right place. I’ll guide you through the step-by-step process to set up your job portal quickly and efficiently. So let’s get started!
Purchase WP Job Portal Theme
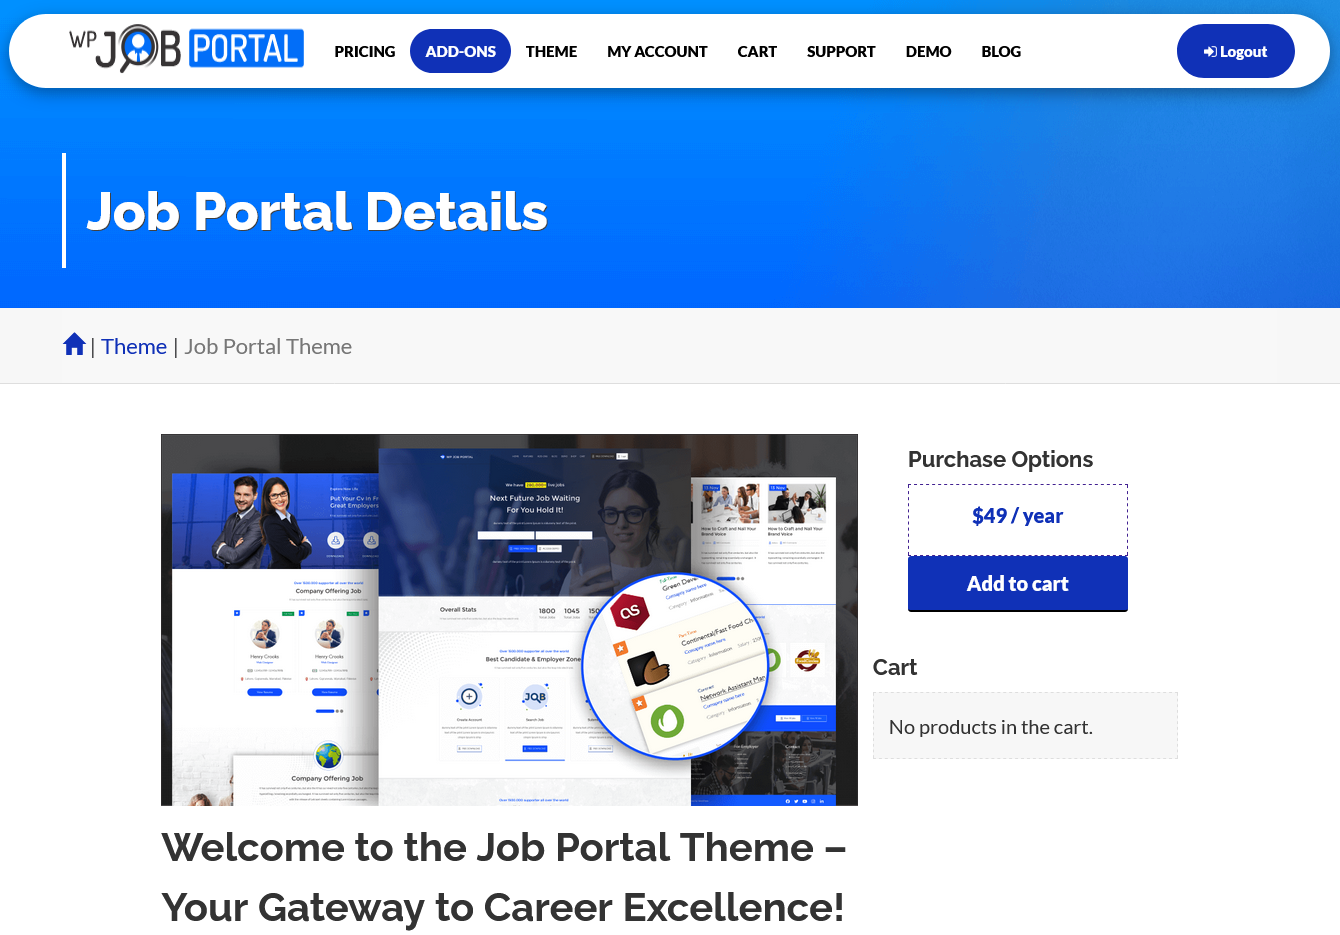
The first step is to purchase the WP Job Portal theme for this head over to the official website of the WP Job Portal where the theme is available. After buying the theme, download the theme zip files from the “My Orders” section to your computer. Download the complete package ZIP file to your computer.
Install The WP Job Portal Theme

Now, let’s install the WP Job Portal theme on your WordPress website. Log in to your WordPress admin dashboard and navigate to Admin Dashboard–>Appearance–> Themes. Click on ‘Add New Theme’ and then ‘Upload Theme.’ Choose the theme ZIP file you downloaded earlier and click ‘Install Now.
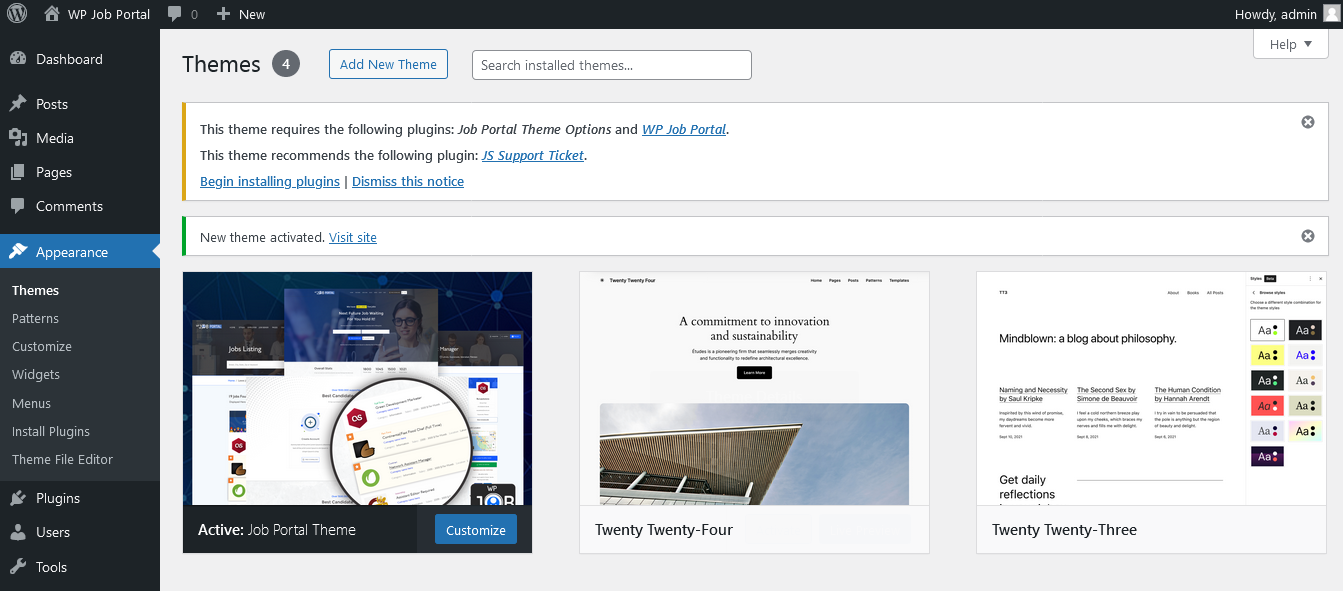
With the theme successfully installed, it’s time to activate it along with the necessary plugins. The WP Job Portal theme has been installed successfully.
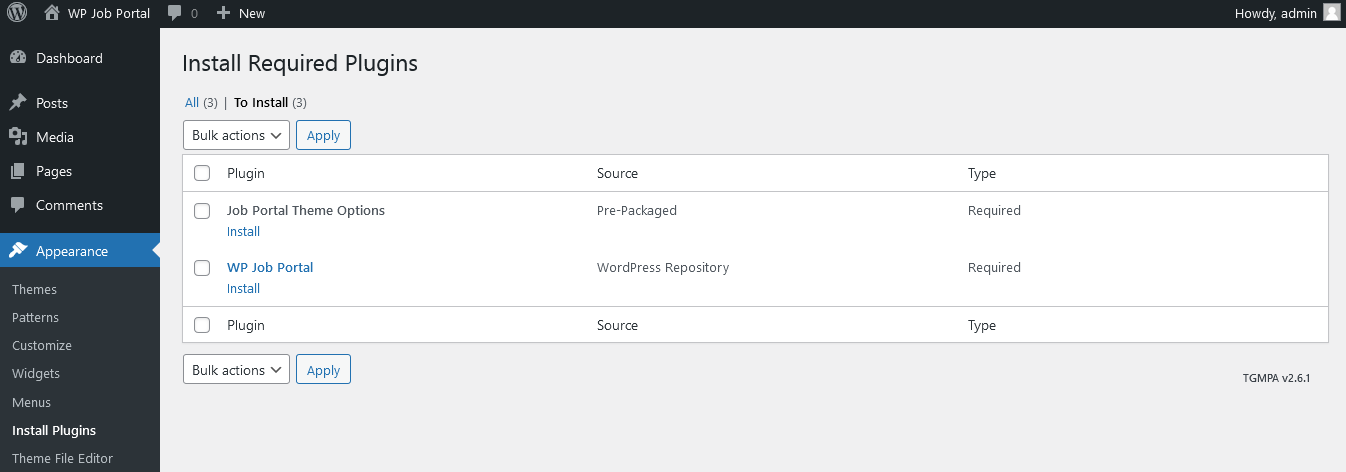
To unlock the full potential of your job portal, this theme requires the installation of the following plugins:
You can find these plugins in the WordPress plugin listing. The complete package you downloaded includes the WP Job Portal theme, Job Portal Options, WP Job Portal Plugins, and WP Bakery. These plugins are crucial for enhancing the functionality and customization options of your job portal website. Firstly, we’ll focus on the Job Portal Theme Options plugin. This plugin provides additional customization features for your theme. After installation of Job Portal Theme Options, then activate.
Once activated, refresh the page or revisit the plugins section, and you’ll find the Job Portal Theme Options in the admin menu under ‘Settings.
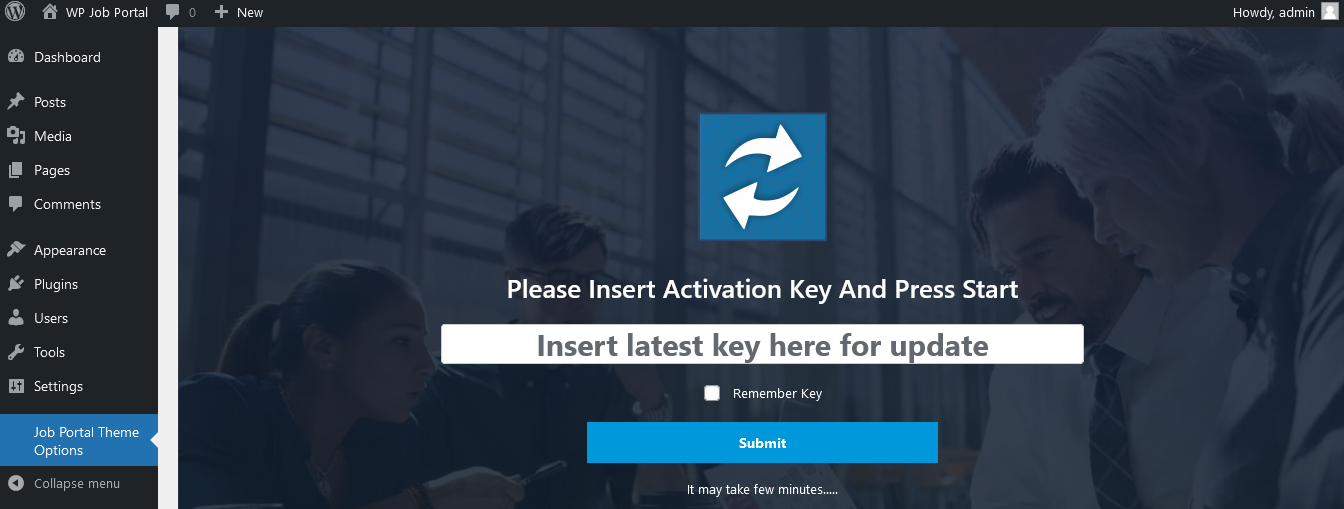
Now, click on the Job Portal Theme Options plugin in the admin menu. This will take you to the Installer screen. This is where you can proceed with the latest theme installation process. Here, insert the provided secret key for updates and hit the submit button. After successful submission, the WP Job Portal will approve your request and make the theme update available.
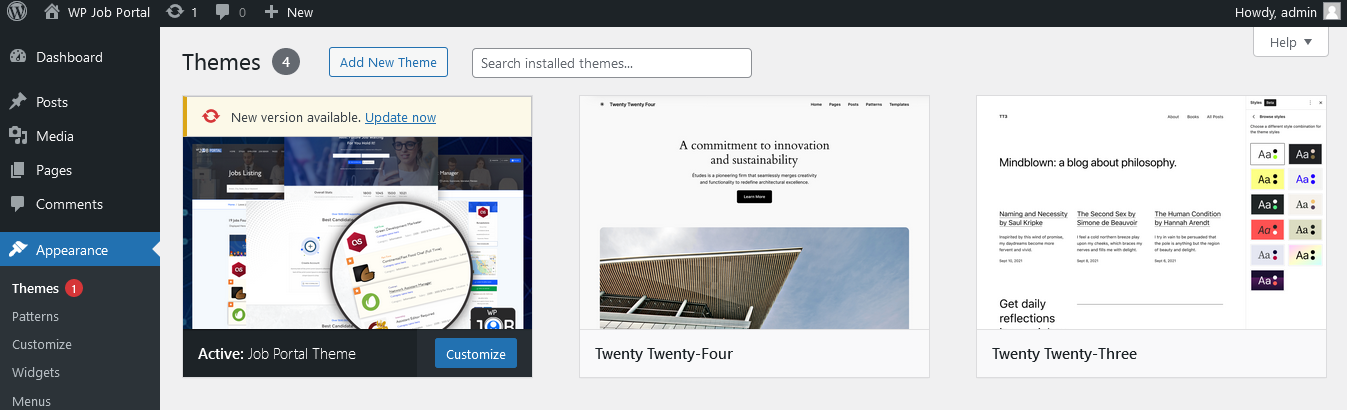
To install the latest version of the theme, we will head back to the theme interface. After activating the key, you will notice the new version. Click ‘Update Now’ to apply the latest version.

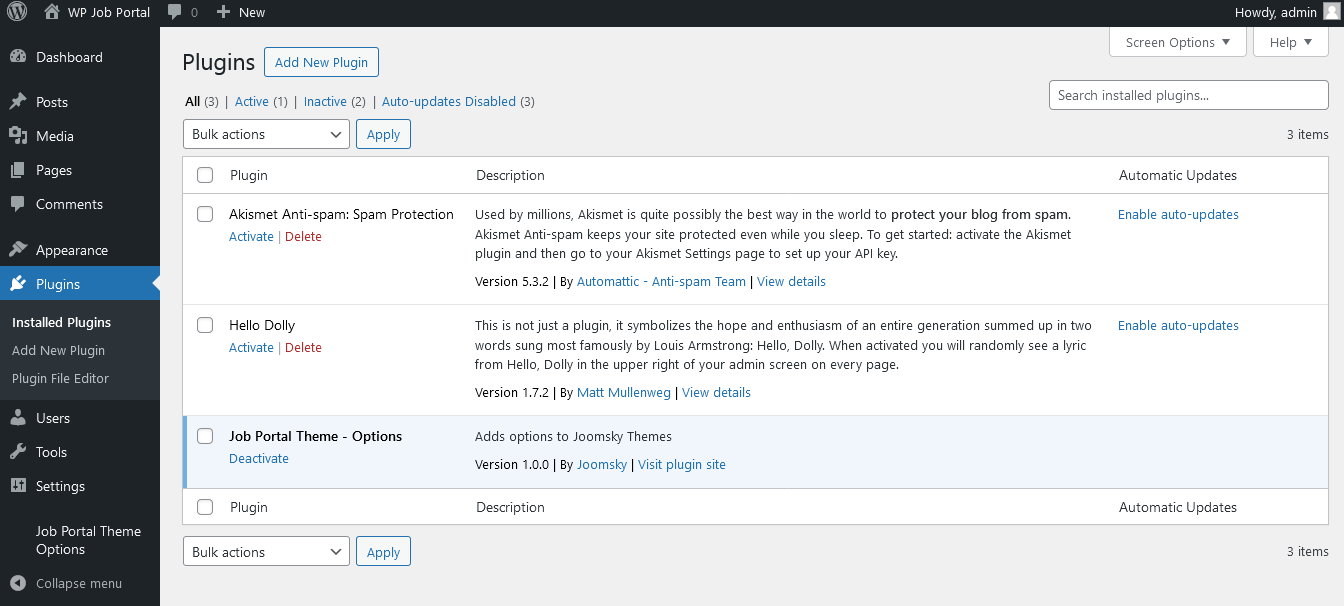
After updating the theme, check the ‘Plugins’ section again. A new update will be available for the Job Portal Theme Options plugin. The 1.0.0 version of the theme options plugin is for installation, but to use it for customization purposes, you must update it first. Therefore, we updated it to version 1.0.1. This ensures you have the most recent theme options plugin for customization.
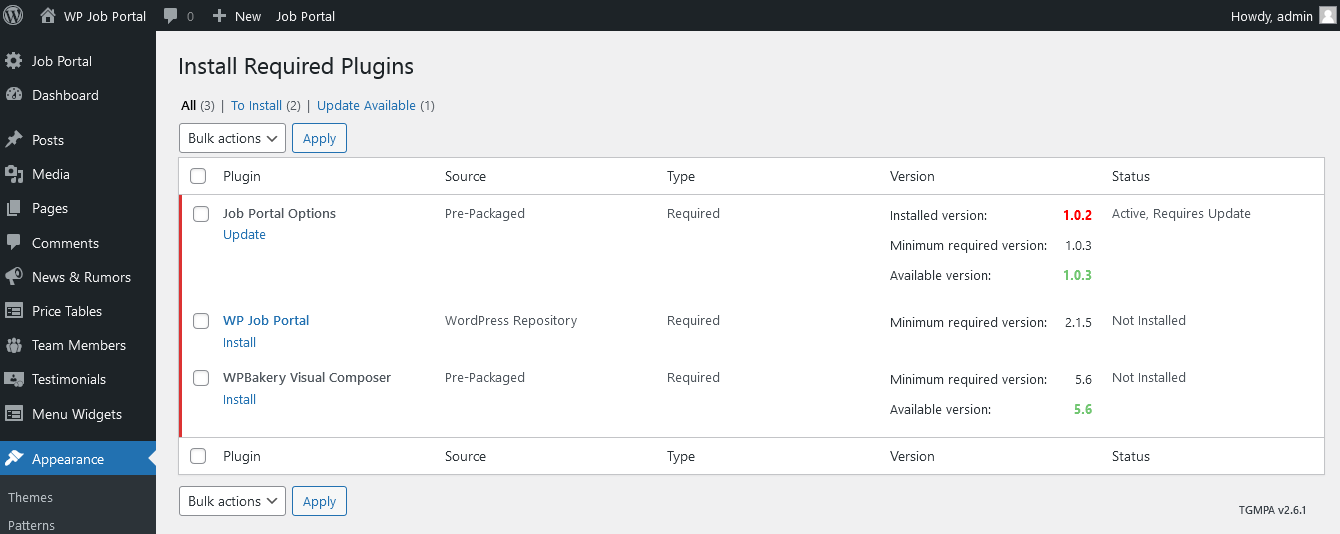
Now, let’s proceed with the installation of the necessary WP Job Portal and WP Bakery plugins.
Navigate to the ‘Plugins’ section, locate both plugins in the listing, and install them. After installation, activate both plugins to fully integrate them with your job portal website.
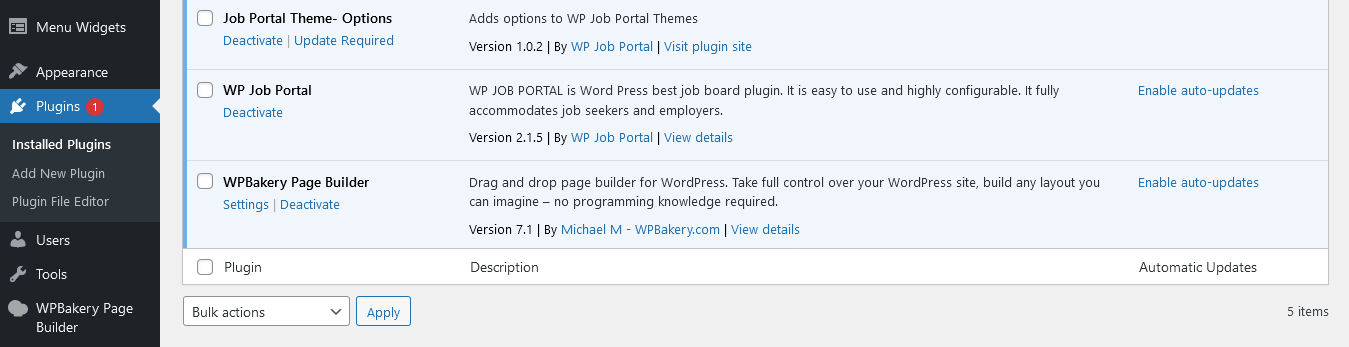
And there you have it! You’ve successfully installed and activated the WP Job Portal theme, along with the WP Job Portal and WP Bakery plugins, as well as the theme options plugin. Your job portal website is now ready to shine with a professional look and powerful features, and you have the flexibility to customize it further using the theme options.
Let’s give it a head start by importing some demo data. This will not only showcase the potential of the WP Job Portal theme but also make it easier for you to visualize how your site could look and function.
Follow along as we guide you through the demo import process.
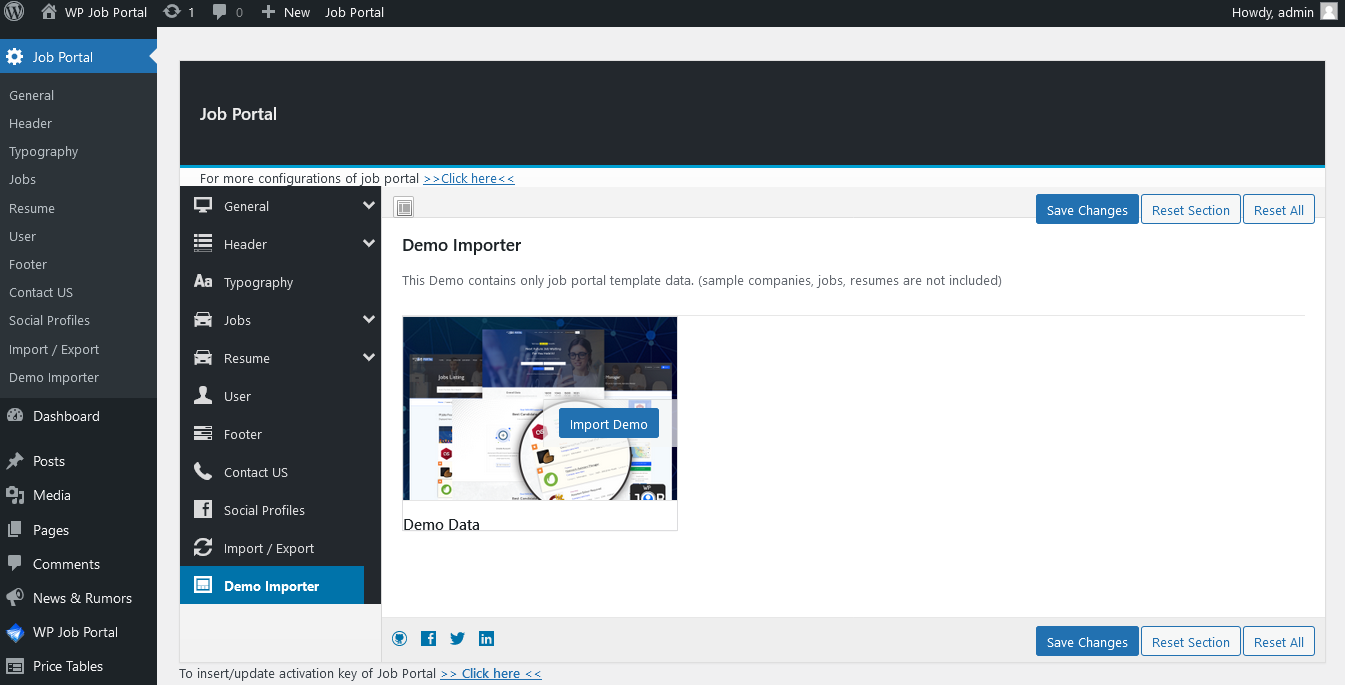
In the Left-Hand Menu–> Job Portal–> Demo Importer section within the theme settings. Here’s where the magic happens! Hit the Demo Data.
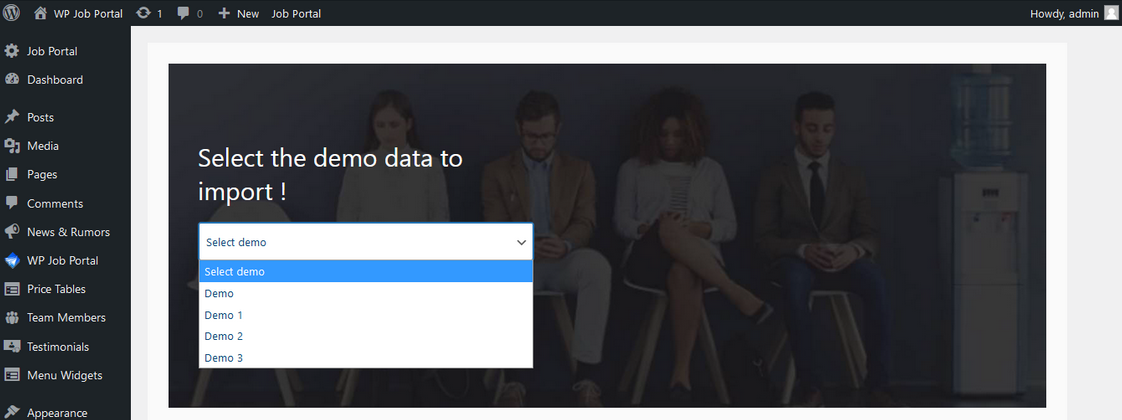
As you click on the ‘Demo Import’ section, you’ll find a selection of distinct types of demo themes. Each demo represents a unique look and functionality for your job portal website. When you find the one that resonates with your vision, click on it. Once you’ve selected a demo theme hit the get demo button and let’s see the magic unfold on the front end.
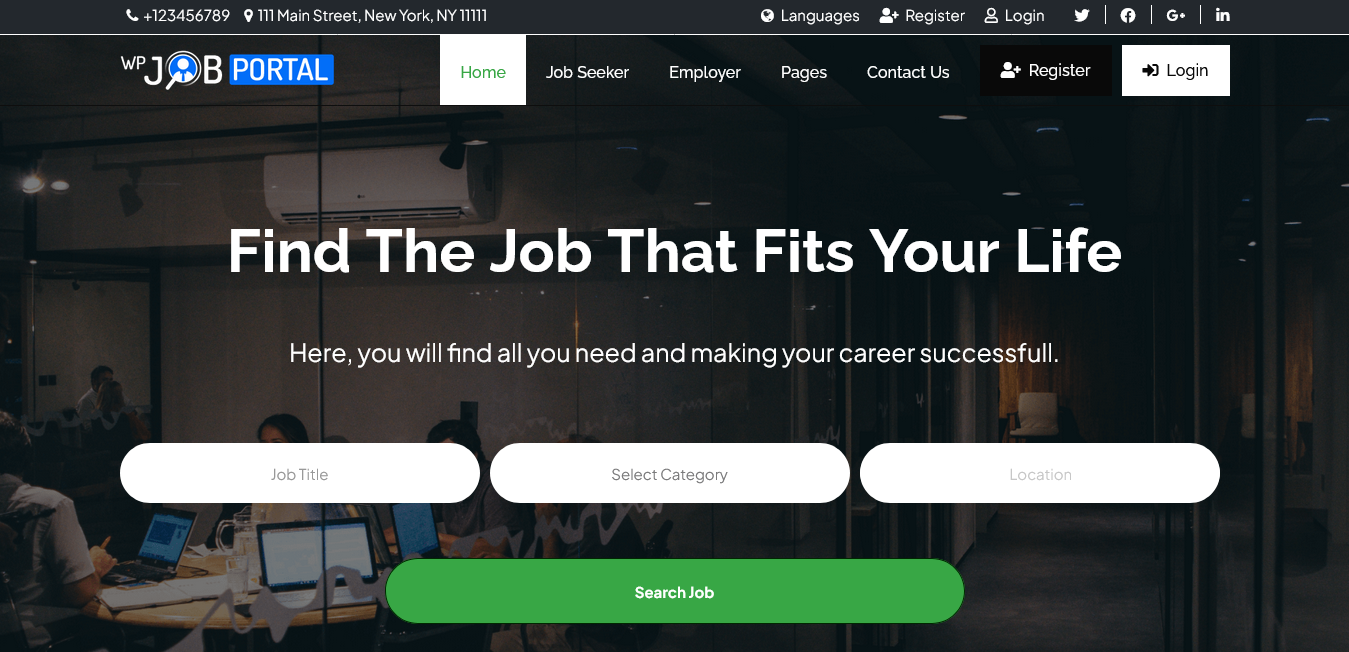
Your website will now be populated with sample content, providing a realistic preview of the selected theme.
This makes it incredibly easy for you to customize and replace the sample content with your information.

Now if you wish to change your selection simply select the specific one and choose the ‘Remove’ and ‘Insert’ options for the previous demo data. This clears out the previously imported demo data, allowing you to choose a different theme. Click the ‘Get Demo’ button to proceed with the demo data if you’re satisfied with your choice. Once you hit the ‘get demo’ button, your site will instantly adapt to the selected theme’s visual and functional elements. This showcase on the front end is a powerful way to preview how your job portal website can look and function with a different design and layout.”
Similarly, you can continue to explore and experiment with different demo themes, tailoring them to your specific needs. Remember, these demos are starting points, and the real fun begins as you customize and personalize your job portal website.
And that’s it! By exploring various demo themes, you’ve gained insight into the flexibility and adaptability of the WP Job Portal theme. Importing demo data provides you with a solid foundation, allowing you to envision different styles for your job portal website. As you move forward, feel empowered to choose a theme that resonates with your vision. Remember, these demos are starting points, and the real fun begins as you customize and personalize your job portal website, making it uniquely yours.