How To Install Add-ons In The WP Job Portal Plugin For WordPress!
We’ll guide you through the installation process of these valuable add-ons that bring advanced functionality to the WP Job Portal, ultimately improving the recruitment experience for employers and job seekers.
Open up the admin dashboard of the WP Job Portal. From the dashboard, you may notice that some of the feature links in the menu are inactive and inaccessible. To make them accessible, you’ll need to install the add-ons corresponding to these features.
Add-ons Installation
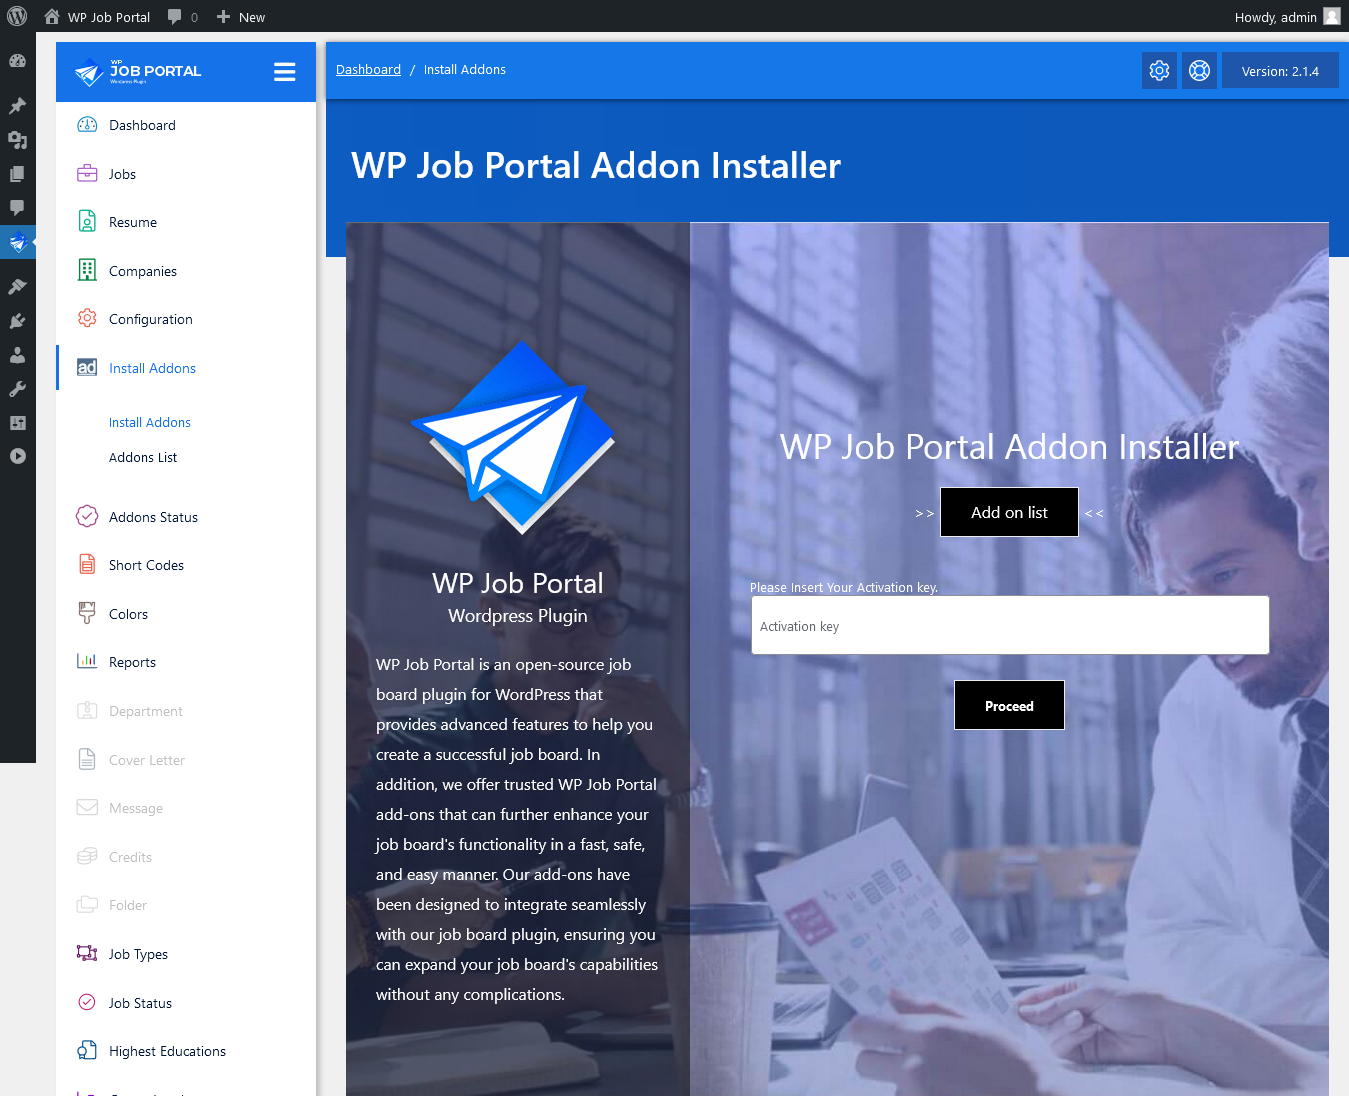
As an administrator, From there, navigate to the Admin Dashboard–> Dashboard Menu–> Install Addons option and click on it. Before proceeding with the installation, you will need an activation key for the add-ons. As an administrator, you should obtain the add-on activation key. Once you have it,
For the add-on installation, locate the “Install Add-on” button in the menu and click on it. This will bring you to the user-friendly add-ons installer screen of the WP Job Portal. Enter the key in the designated field and click the “Proceed” button. This will enable you to install the add-ons based on your package. On the add-ons installation screen, you can select the specific add-ons you want to install, depending on your package.
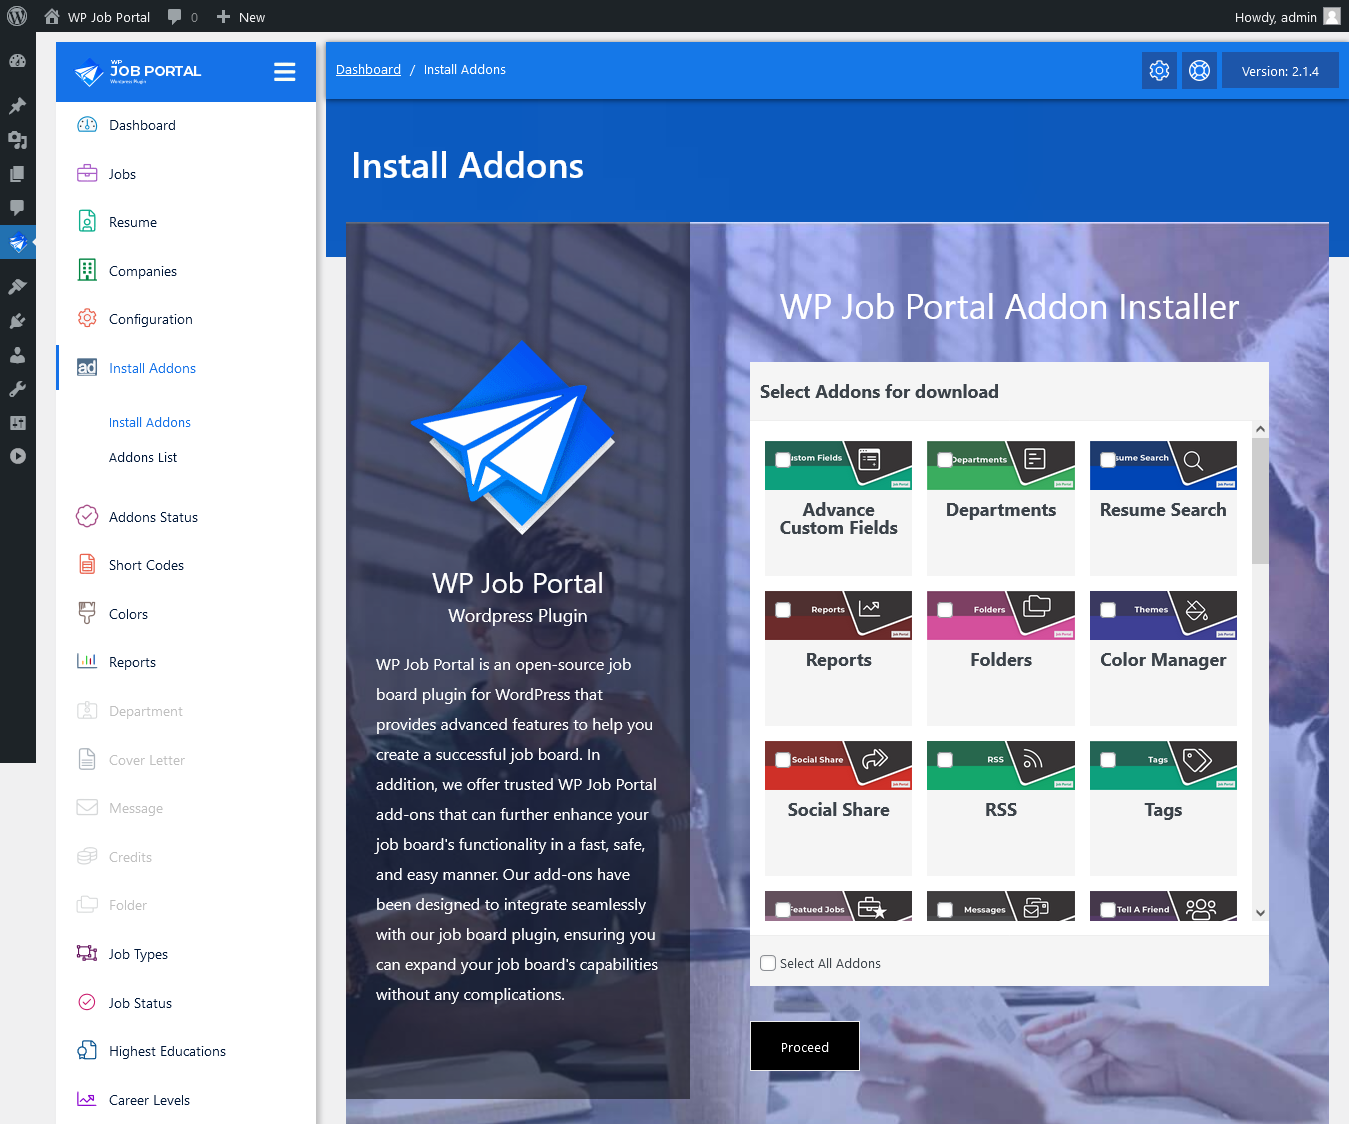
On the add-ons installation screen, you can select the specific add-ons you want to install, depending on your package. You have the option to install single, multiple, or all the add-ons listed at a time. But keep in mind that the installation of the add-ons will be according to your package. Once you have made your add-ons selection, click the “Proceed” button. The WP Job Portal add-ons have been installed successfully.
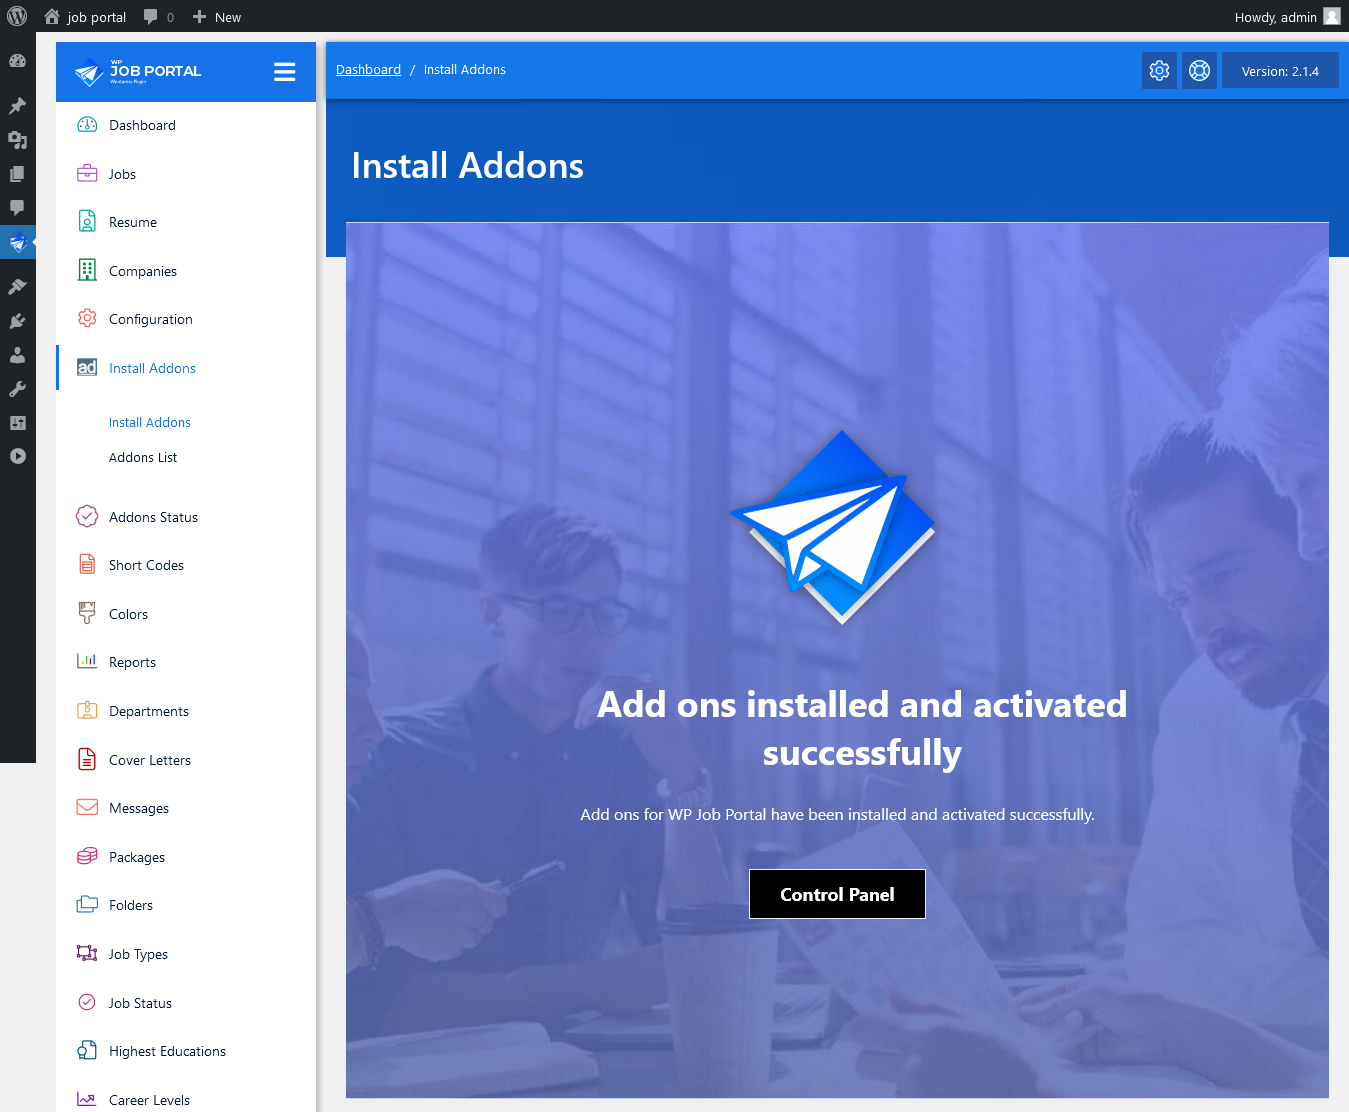
After the installation of the add-ons, head back to your admin dashboard. Upon returning to the dashboard, you will notice that all the previously inactive features have been activated and are now ready to use.
Manually Activate Add-ons
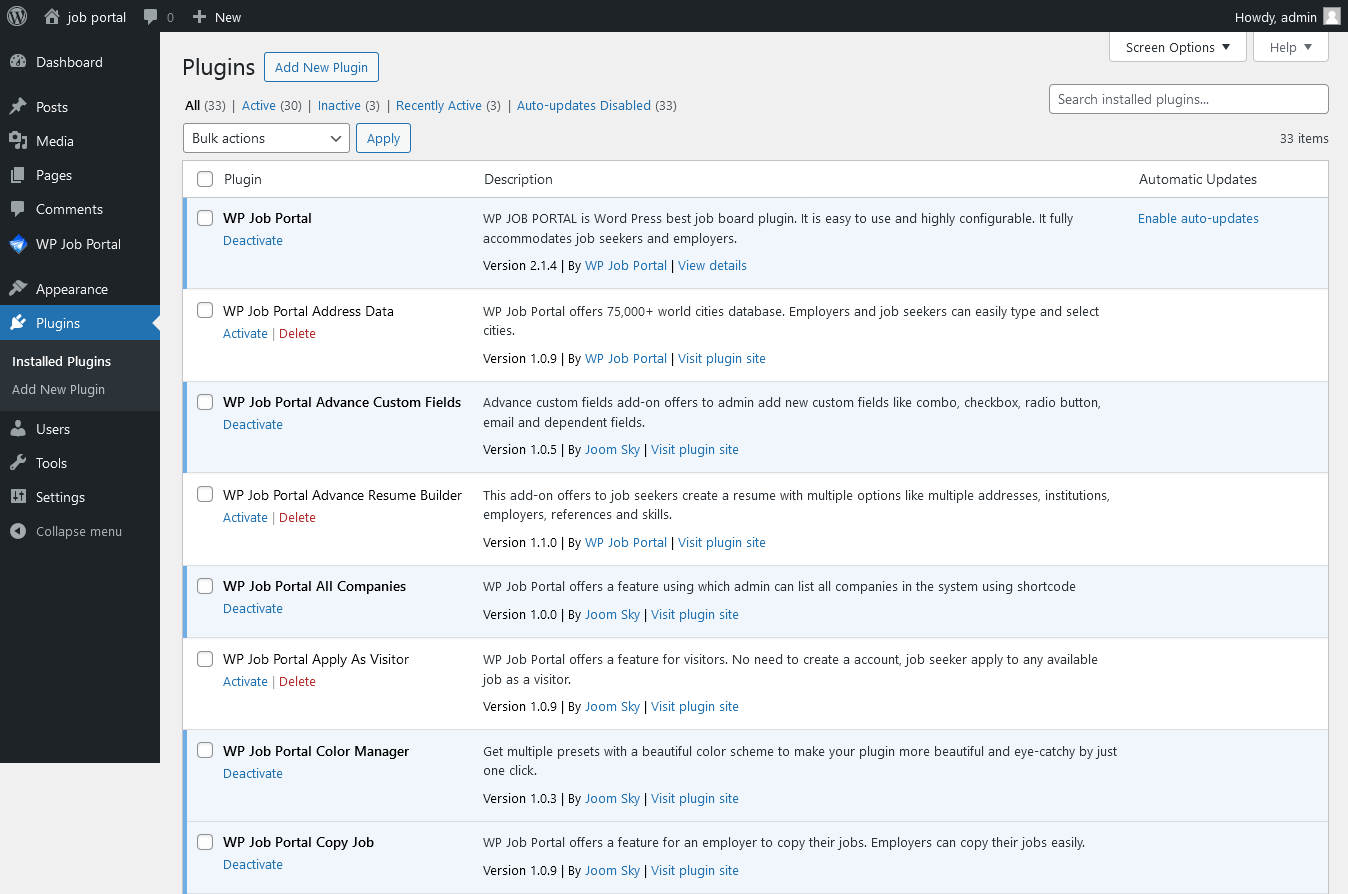
In some cases, if an installed add-on is not activated, you can manually activate it from the WordPress plugins page. To access the WordPress plugins page, click on the “Plugins” option from the WordPress menu. Once you are on the plugins page, you can verify the activation status of your add-ons. If any add-ons are not activated, you can activate them manually from this page.
Deactivate Add-ons
Similarly, if you want to deactivate an installed or active add-on, simply click the “Deactivate” button. Additionally, if you want to remove this deactivated add-on from the add-ons list, you can delete it. And that’s it! With these simple steps, as an administrator, you can manage the installation and activation process of the add-ons.