Setting Up Paid Submissions-Membership (Admin Side)
Now, let’s walk through the process of posting jobs with paid submissions.
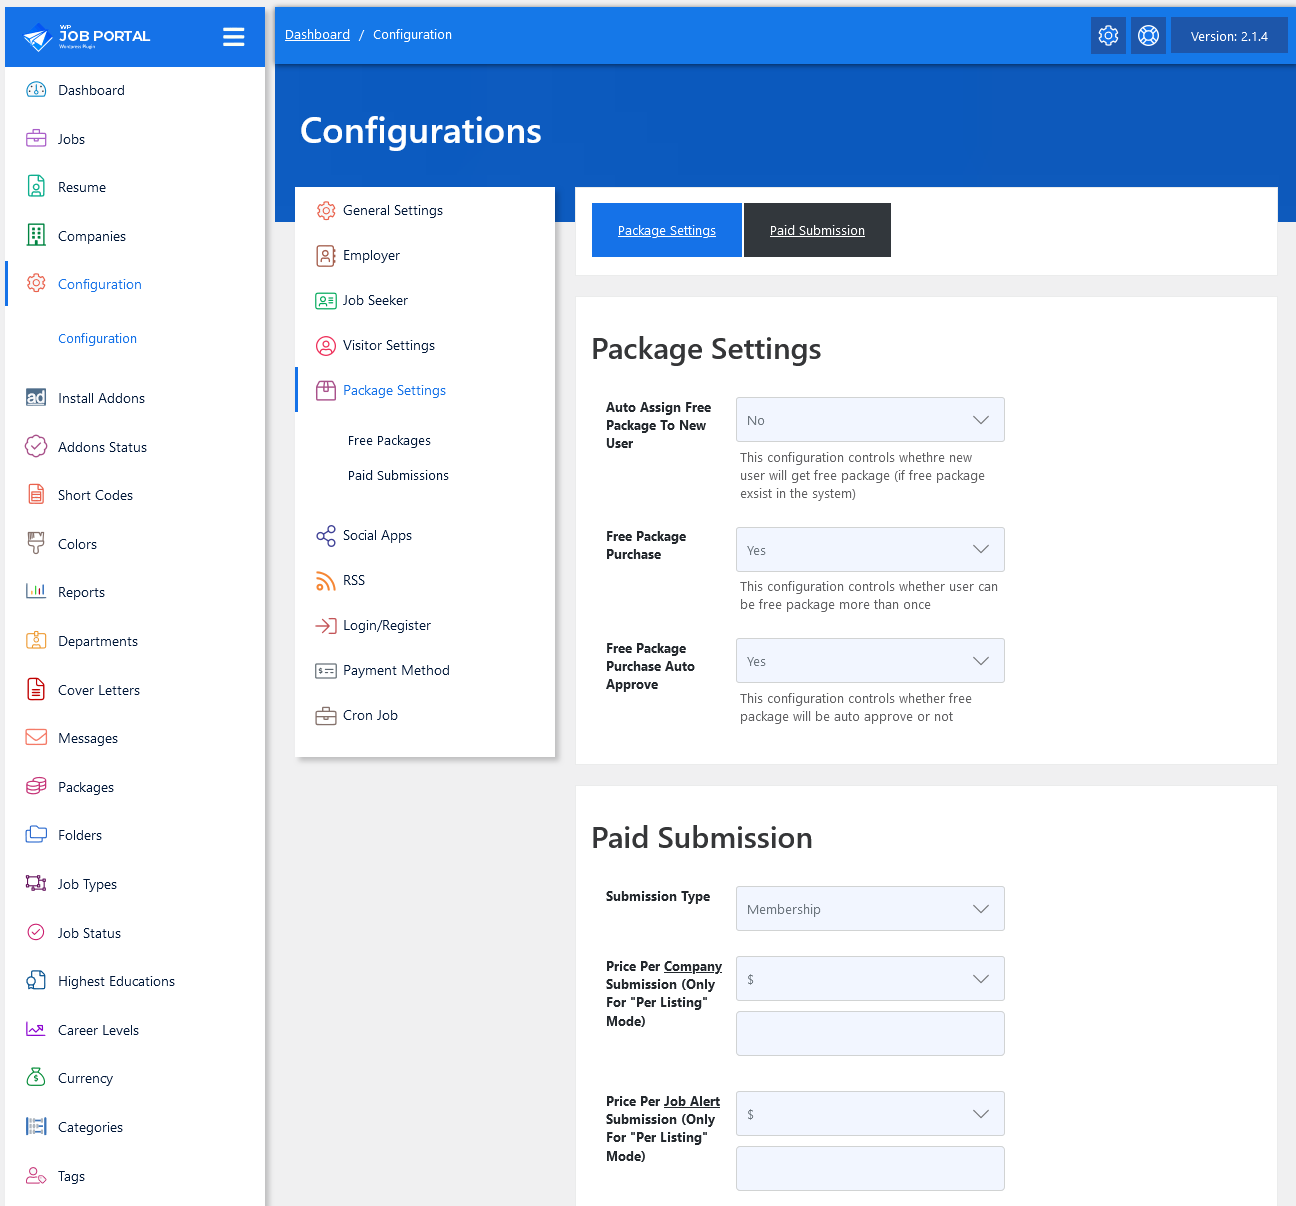
Start by navigating to the Admin Dashboard–> Dashboard Menu–> Configurations–> Package Settings–> Paid Submission.
In the paid submission section, we’ll start by selecting the submission type. WP Job Portal offers two types: paid submissions Per Listing and Membership. Let’s proceed with the membership plan first. After selecting the membership plan, let’s proceed to set up a package for this plan. Save your configurations.
Add Package (Admin Side)
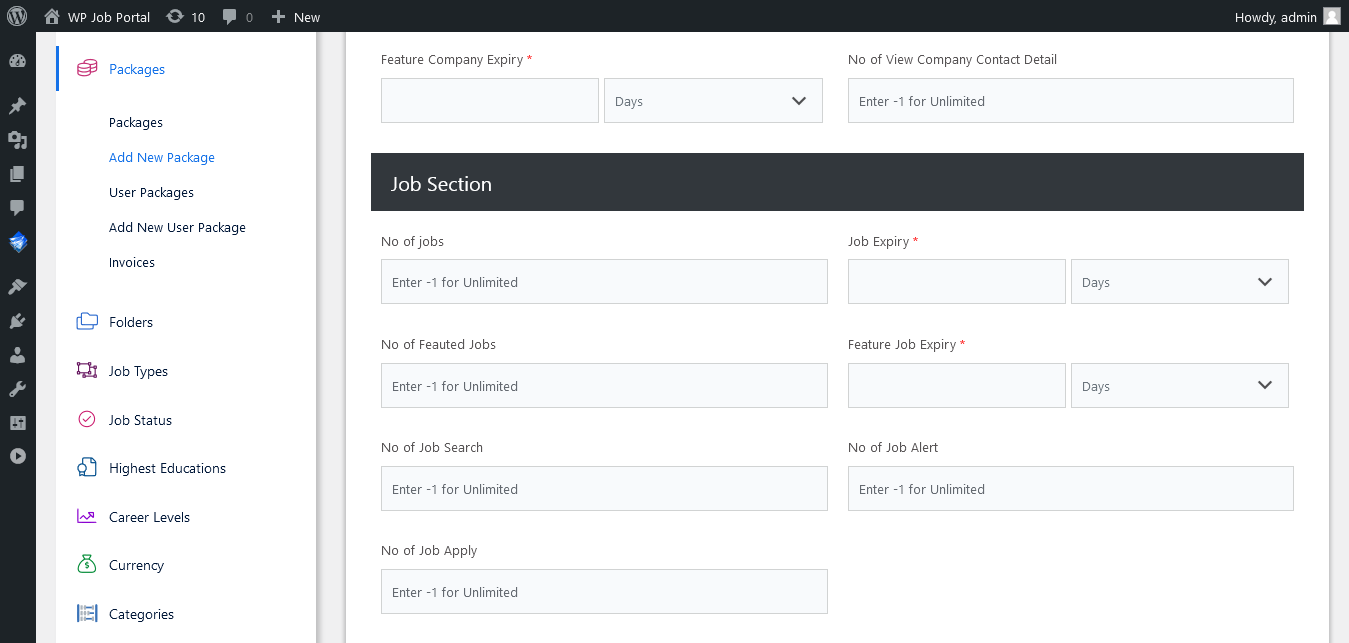
Now navigate to the Admin Dashboard–> Dashboard Menu–> Packages–> Add New Package.
On this page, create your package. Since we are creating this package specifically for job postings, we will detail the relevant information. After explaining the basic details of the package, move to the job section and specify the number of job postings. Be sure to fill in all required fields marked with an asterisk. Once completed, set the package status to “publish” and save the package. The job-specific package has been created.
Add Job With Paid Submission-Membership
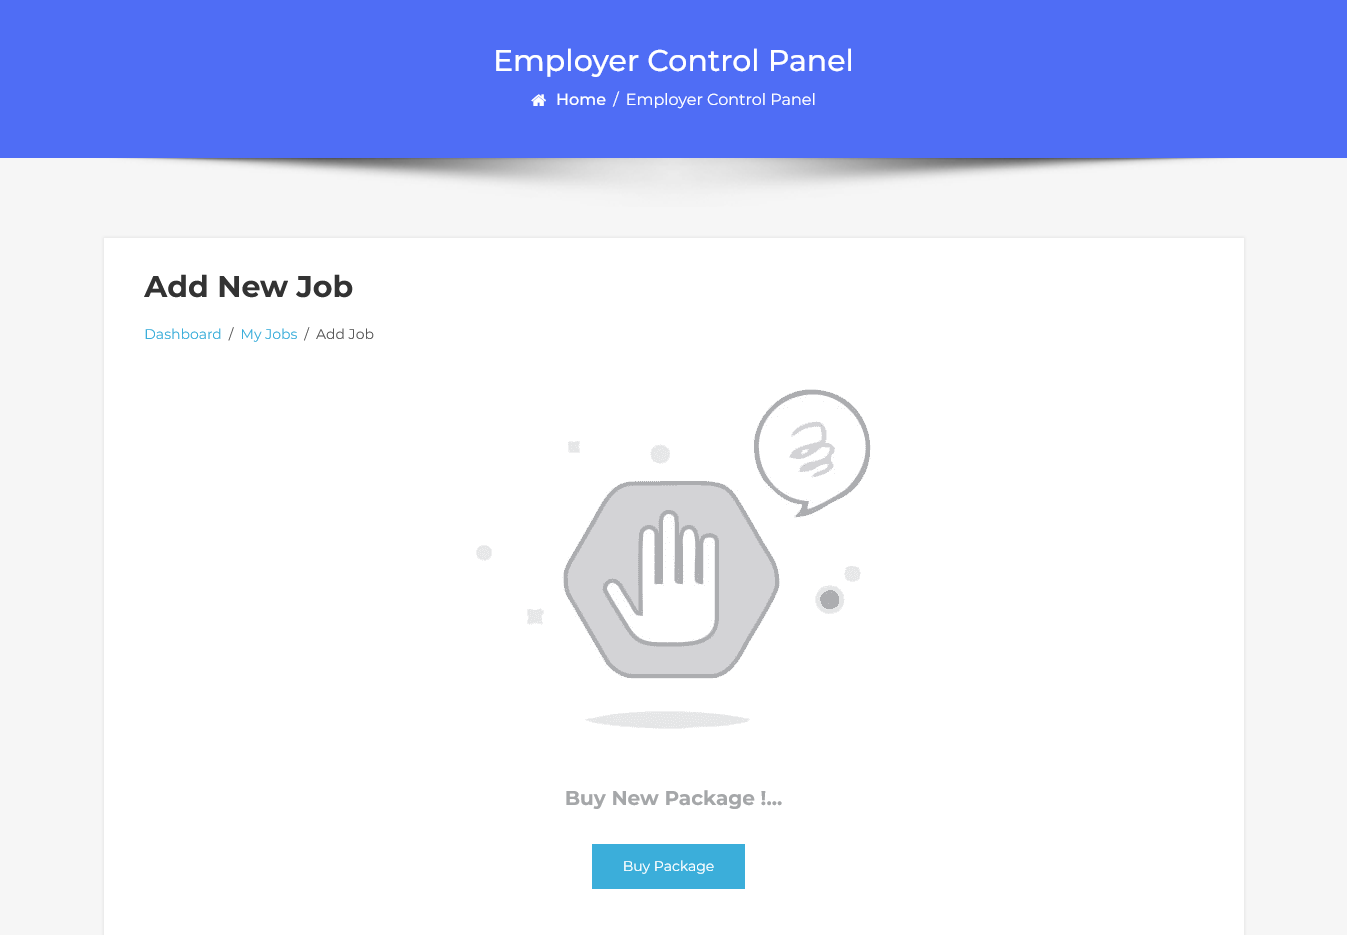
Now, let’s head to the employer dashboard to proceed with a paid job submission by purchasing a package. Simply click on “Add Job” in the menu. Once the membership plan is enabled, you will see the requirement to buy a package for job posting. Click on the “Buy Package” button to continue.
Packages List Page
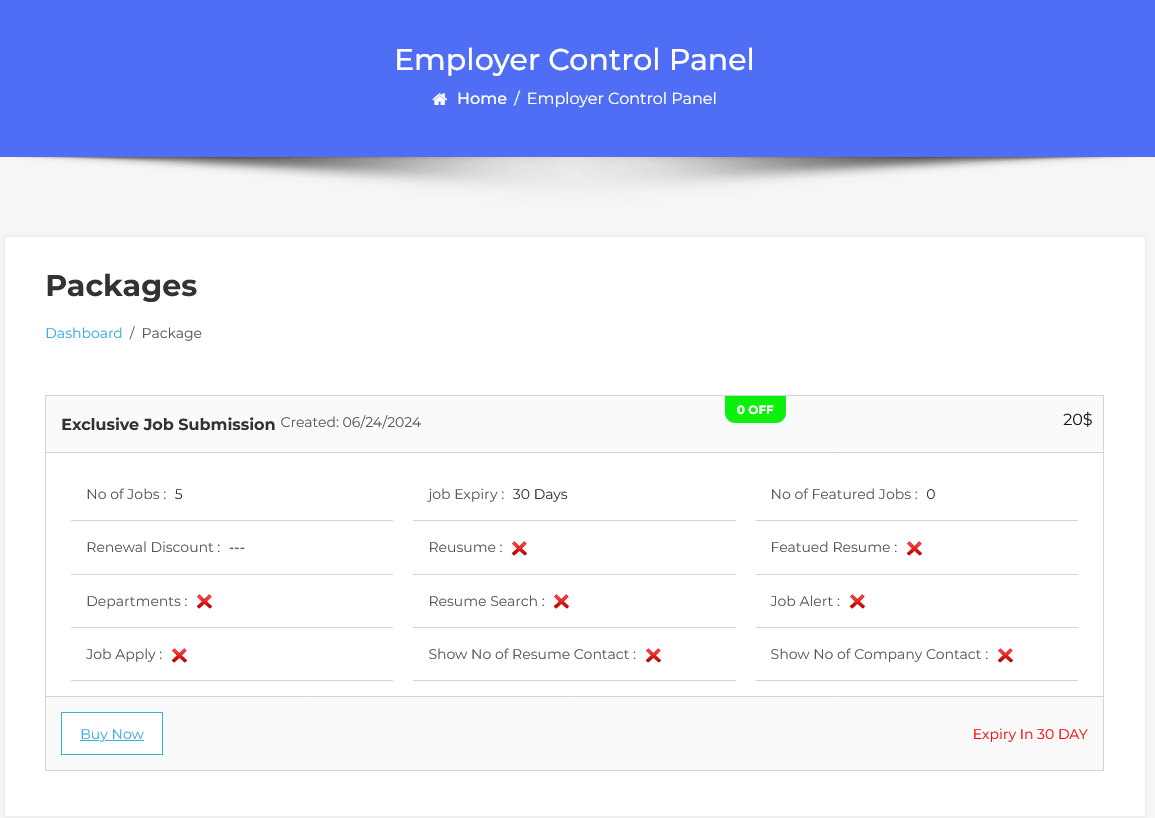
This action will direct you to the packages list page. Simply click the “Buy Now” button and a popup window will appear with the payment method options you have enabled on your site. Choose your preferred payment method and click “Buy Now.”
Select Payment Method
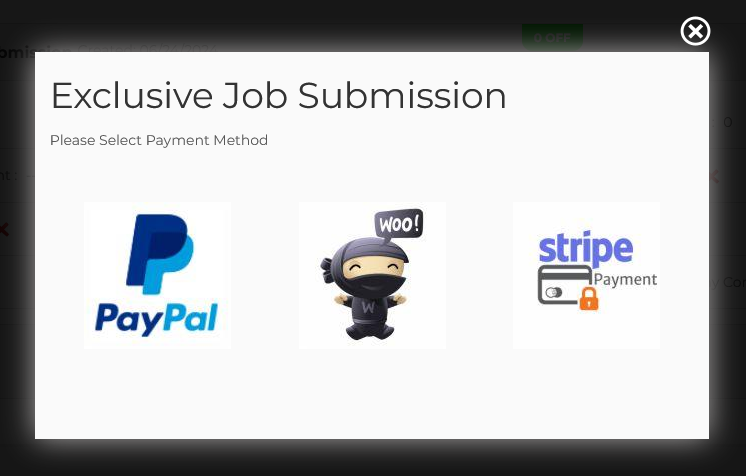
After completing the payment with PayPal, the package has been purchased.
Add New Job
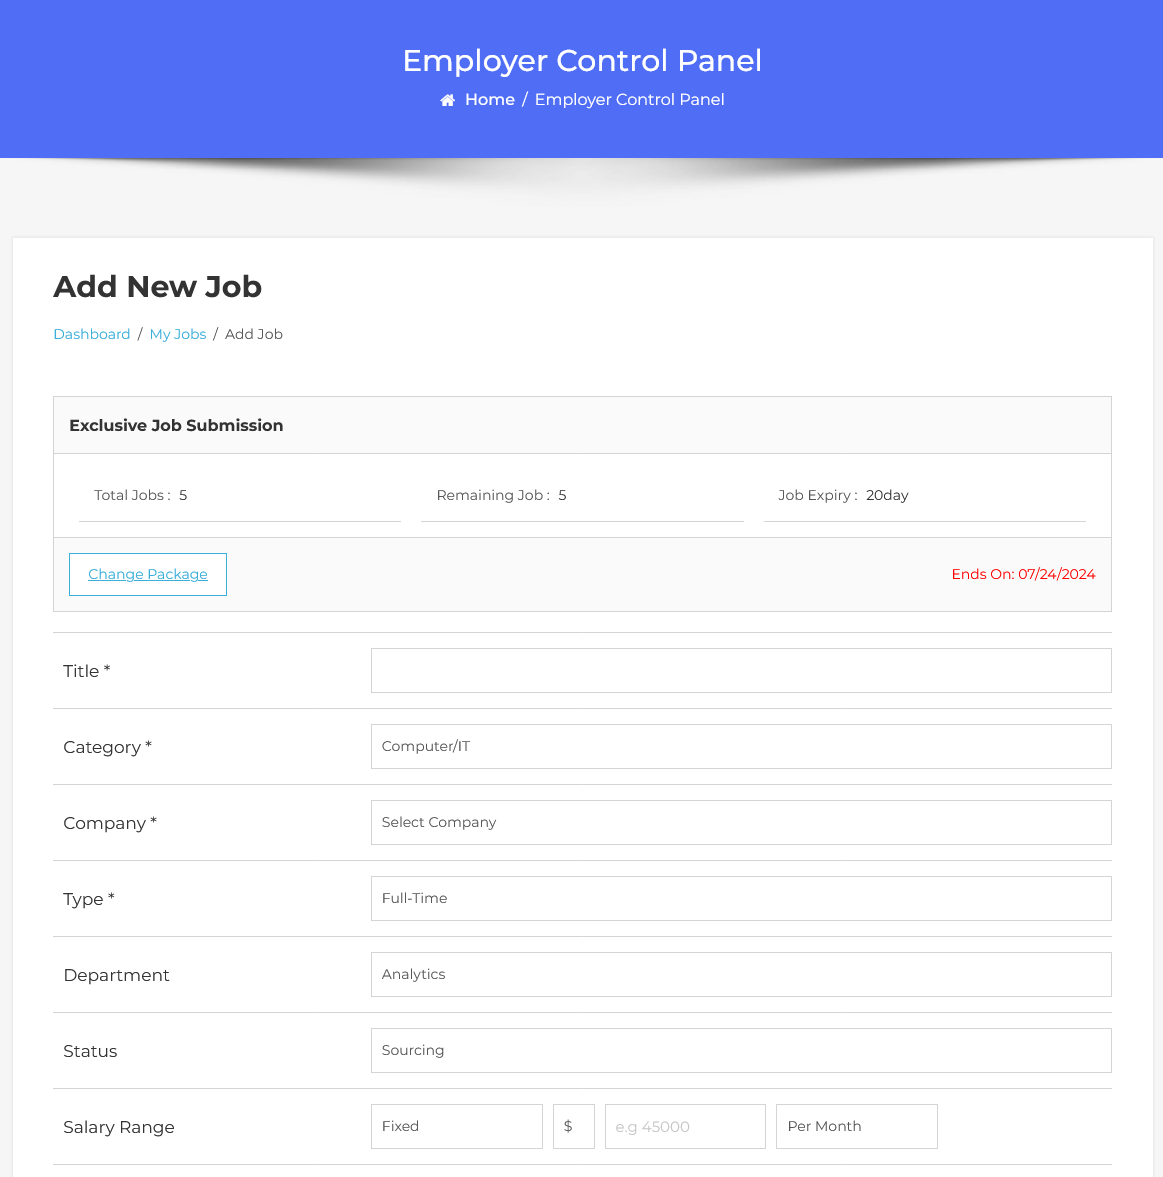
The “Add New Job” form will open. The package details about jobs are displayed on the form, showing the total number of jobs available to add, the remaining jobs, and the job expiration time. Now, proceed to fill in the details about the job. Once you’re done with the information, click ‘Save Job’ to create and publish the job.
The job has been created with paid submission.
Setting Up Paid Submissions-Per Listing Mode (Admin Side)
Now let’s walk through the process of posting jobs with paid submissions.
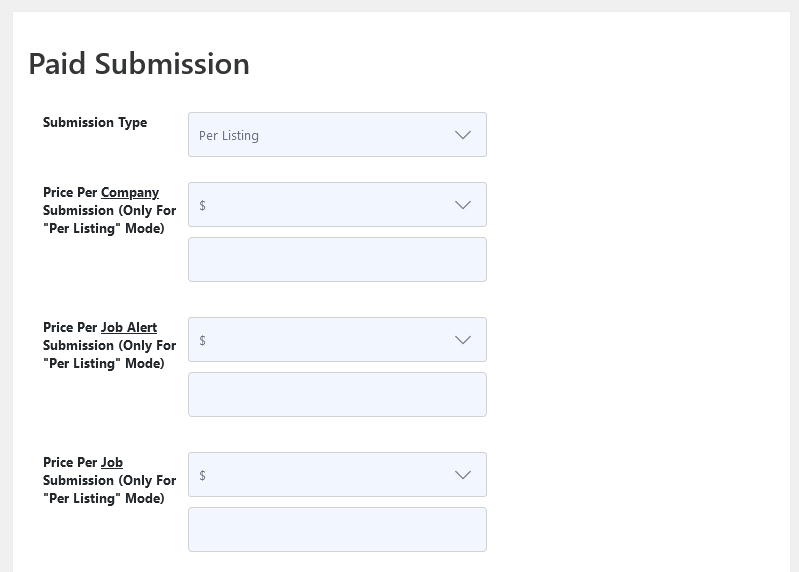
Starting by navigating to the Admin Dashboard–> Dashboard Menu–> Configurations–> Package Settings–> Paid Submission–>Submission Type choose the “Per-Listing”.
Now, let’s walk through the process of paid job submissions using the per-listing mode. Let’s proceed with the per-listing mode. After selecting the per-listing mode. When using the per-listing mode, payment will be charged for each job submission. Next, we will set the currency and price for the per-job submission. Once you’ve set the price per job submission, save your configuration settings.
Add Job With Per Listing Mode
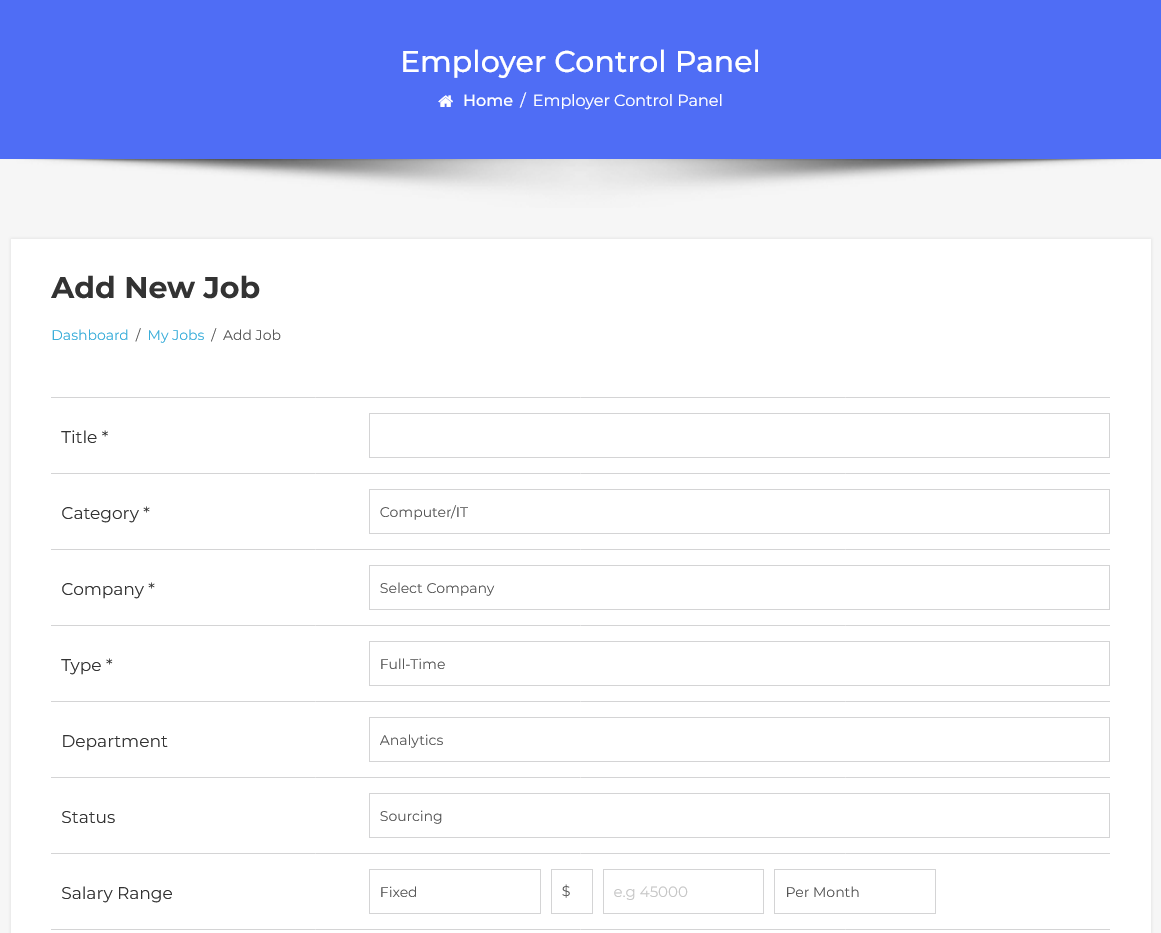
Now we proceed with the steps involved in adding new paid job submissions with the per-listing mode.
Start by filling out the job creation form with all the essential details about the position.
Once you’re done, hit the ‘Save Job’ button.
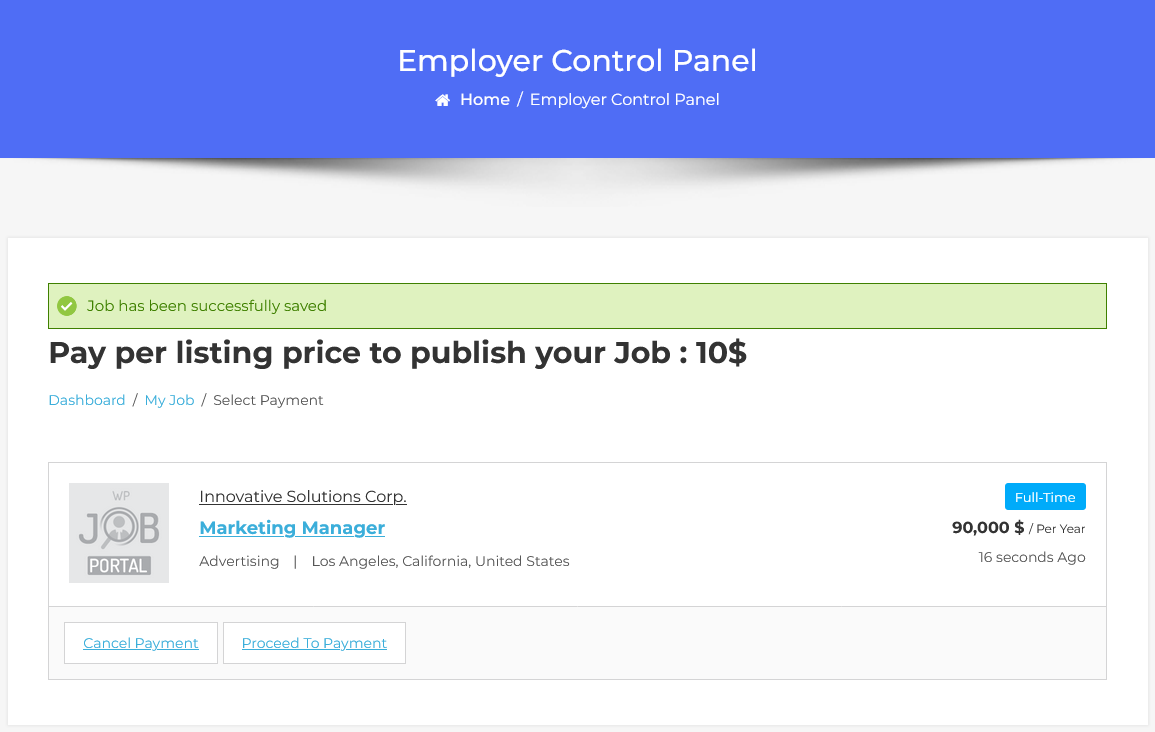
You’ll notice that the job has been created but is not published due to paid submissions. To get your job listing live, we’ll need to go through the payment process.
Select Payment Method
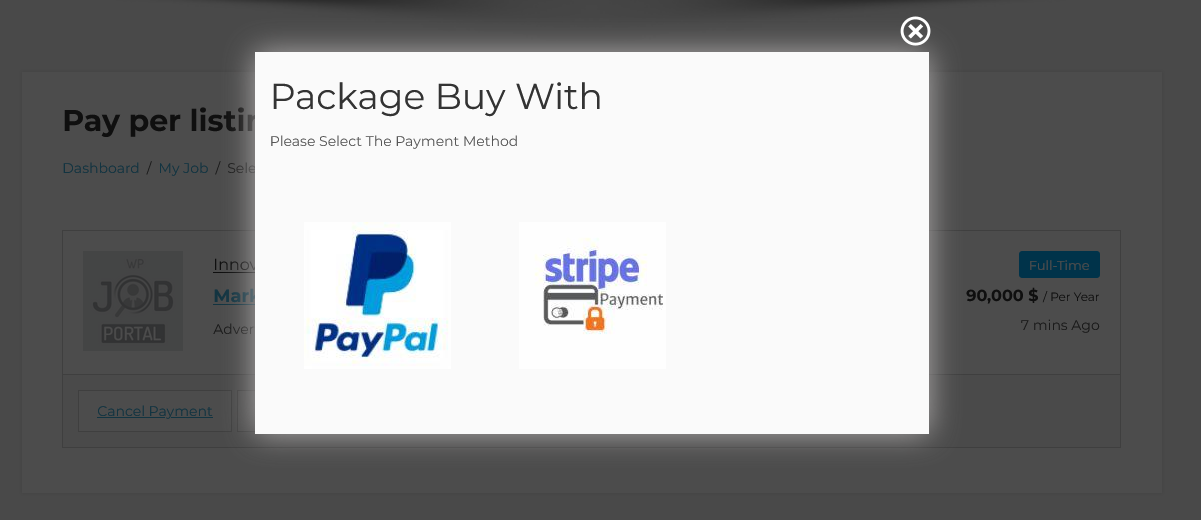
Click on ‘Proceed to Payment’, triggering a pop-up allowing you to select a payment method to pay for this job submission. After selecting your preferred payment method and completing the payment, the job will be published. By following these steps, you’ll be able to effectively manage paid job submissions using the per-listing mode.