Welcome to our Support Center
Job Fields In The WP Job Portal!
Lastly, let’s dive into the process of adding custom fields to your job form to gather more specific information from employers and tailor job postings to your needs.
Add User Fields
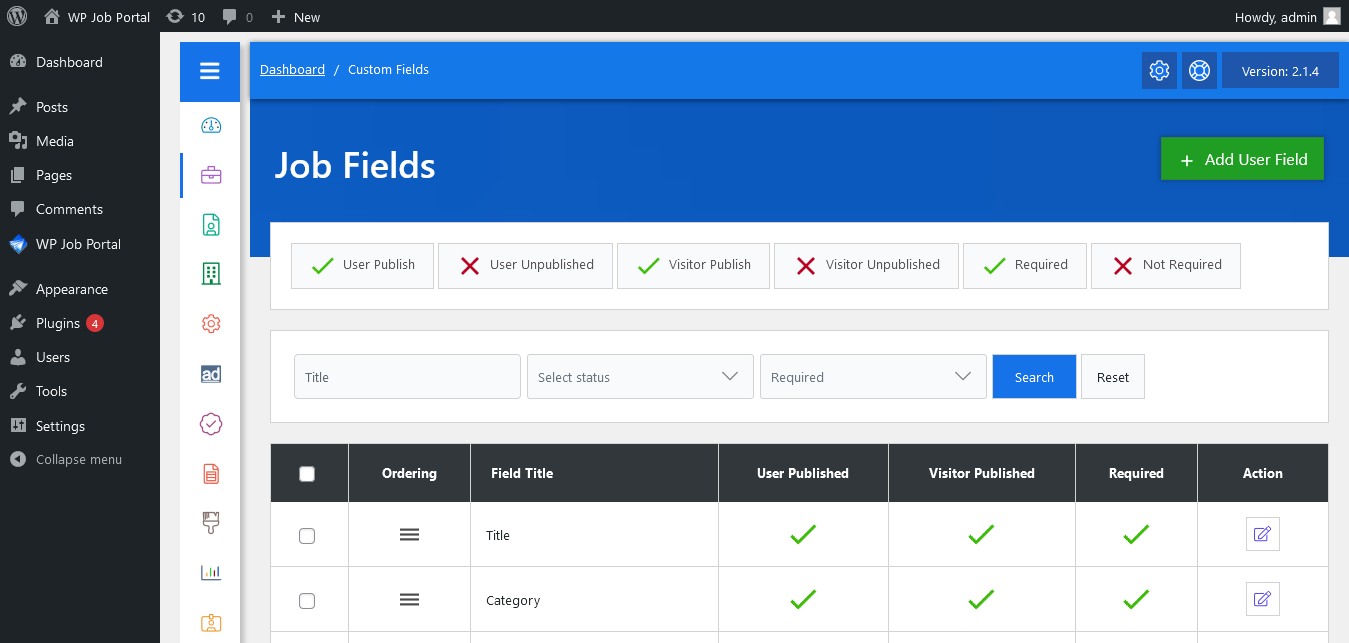
As an administrator navigate to Admin Dashboard–> Dashboard Menu–> Jobs–> Fields. To add a new field, click “Add User Field” on your field management screen.
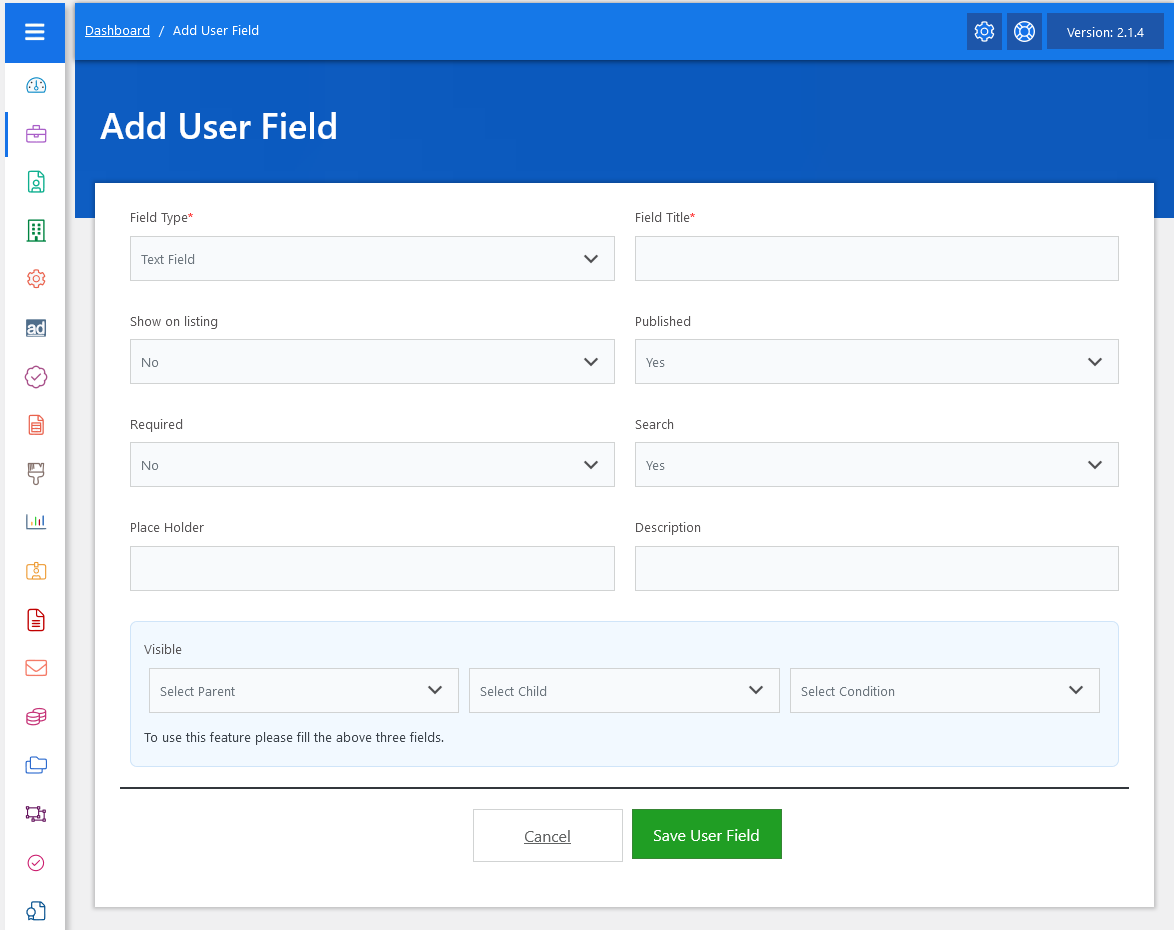
- On this screen, you can start by choosing the field type that suits your requirements. WP Job Portal offers a variety of field types to match your needs. After selecting the field type
- Provide a unique name for your field.
Furthermore, you have some options related to the field that you can implement for users, such as choosing whether this field should be visible on the jobs listing page. If selected “YES”, it will appear alongside the job details in the jobs listing. - You can also decide whether to display this field on the job form or not.
- Another important choice is whether to make this field required. Setting it as “required” ensures that a job can’t be submitted without filling in this field.
- Once you’ve defined all the field details, simply click the “Save Field” button. Your new field will now be added to the list of fields and will be visible on the job form.
Visible User Fields

Let’s now add one more field of a different type.
- To add a new one, we’ll begin by making a field selection. In this case, let’s choose a drop-down field.
- After the field selection, provide it with a relevant name.
- Similarly, you can decide whether this field should appear on the job listing and job form.
- Setting it as “required” ensures that a job can’t be created without filling in this field.
- Next, proceed to add the corresponding values for the drop-down field.
- For added personalization, you can set visibility conditions for the field. These conditions depend on three parameters: ‘parent,’ ‘child,’ and the specific condition.
- After setting up parameters related to the field, save the field. The field has been successfully created and will now be available on the job form.
Fields Ordering
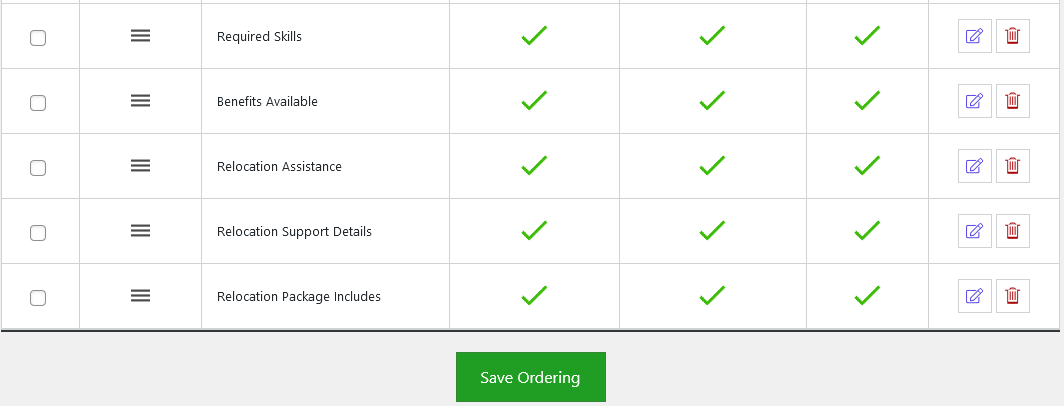
You can also adjust the order of your custom fields on the job form, deciding where you want to show these fields. Once you change the field order and save it, the fields on the job form will align with your preferences. And that’s it! By following these comprehensive steps, you can customize your job forms with additional fields to suit your needs.